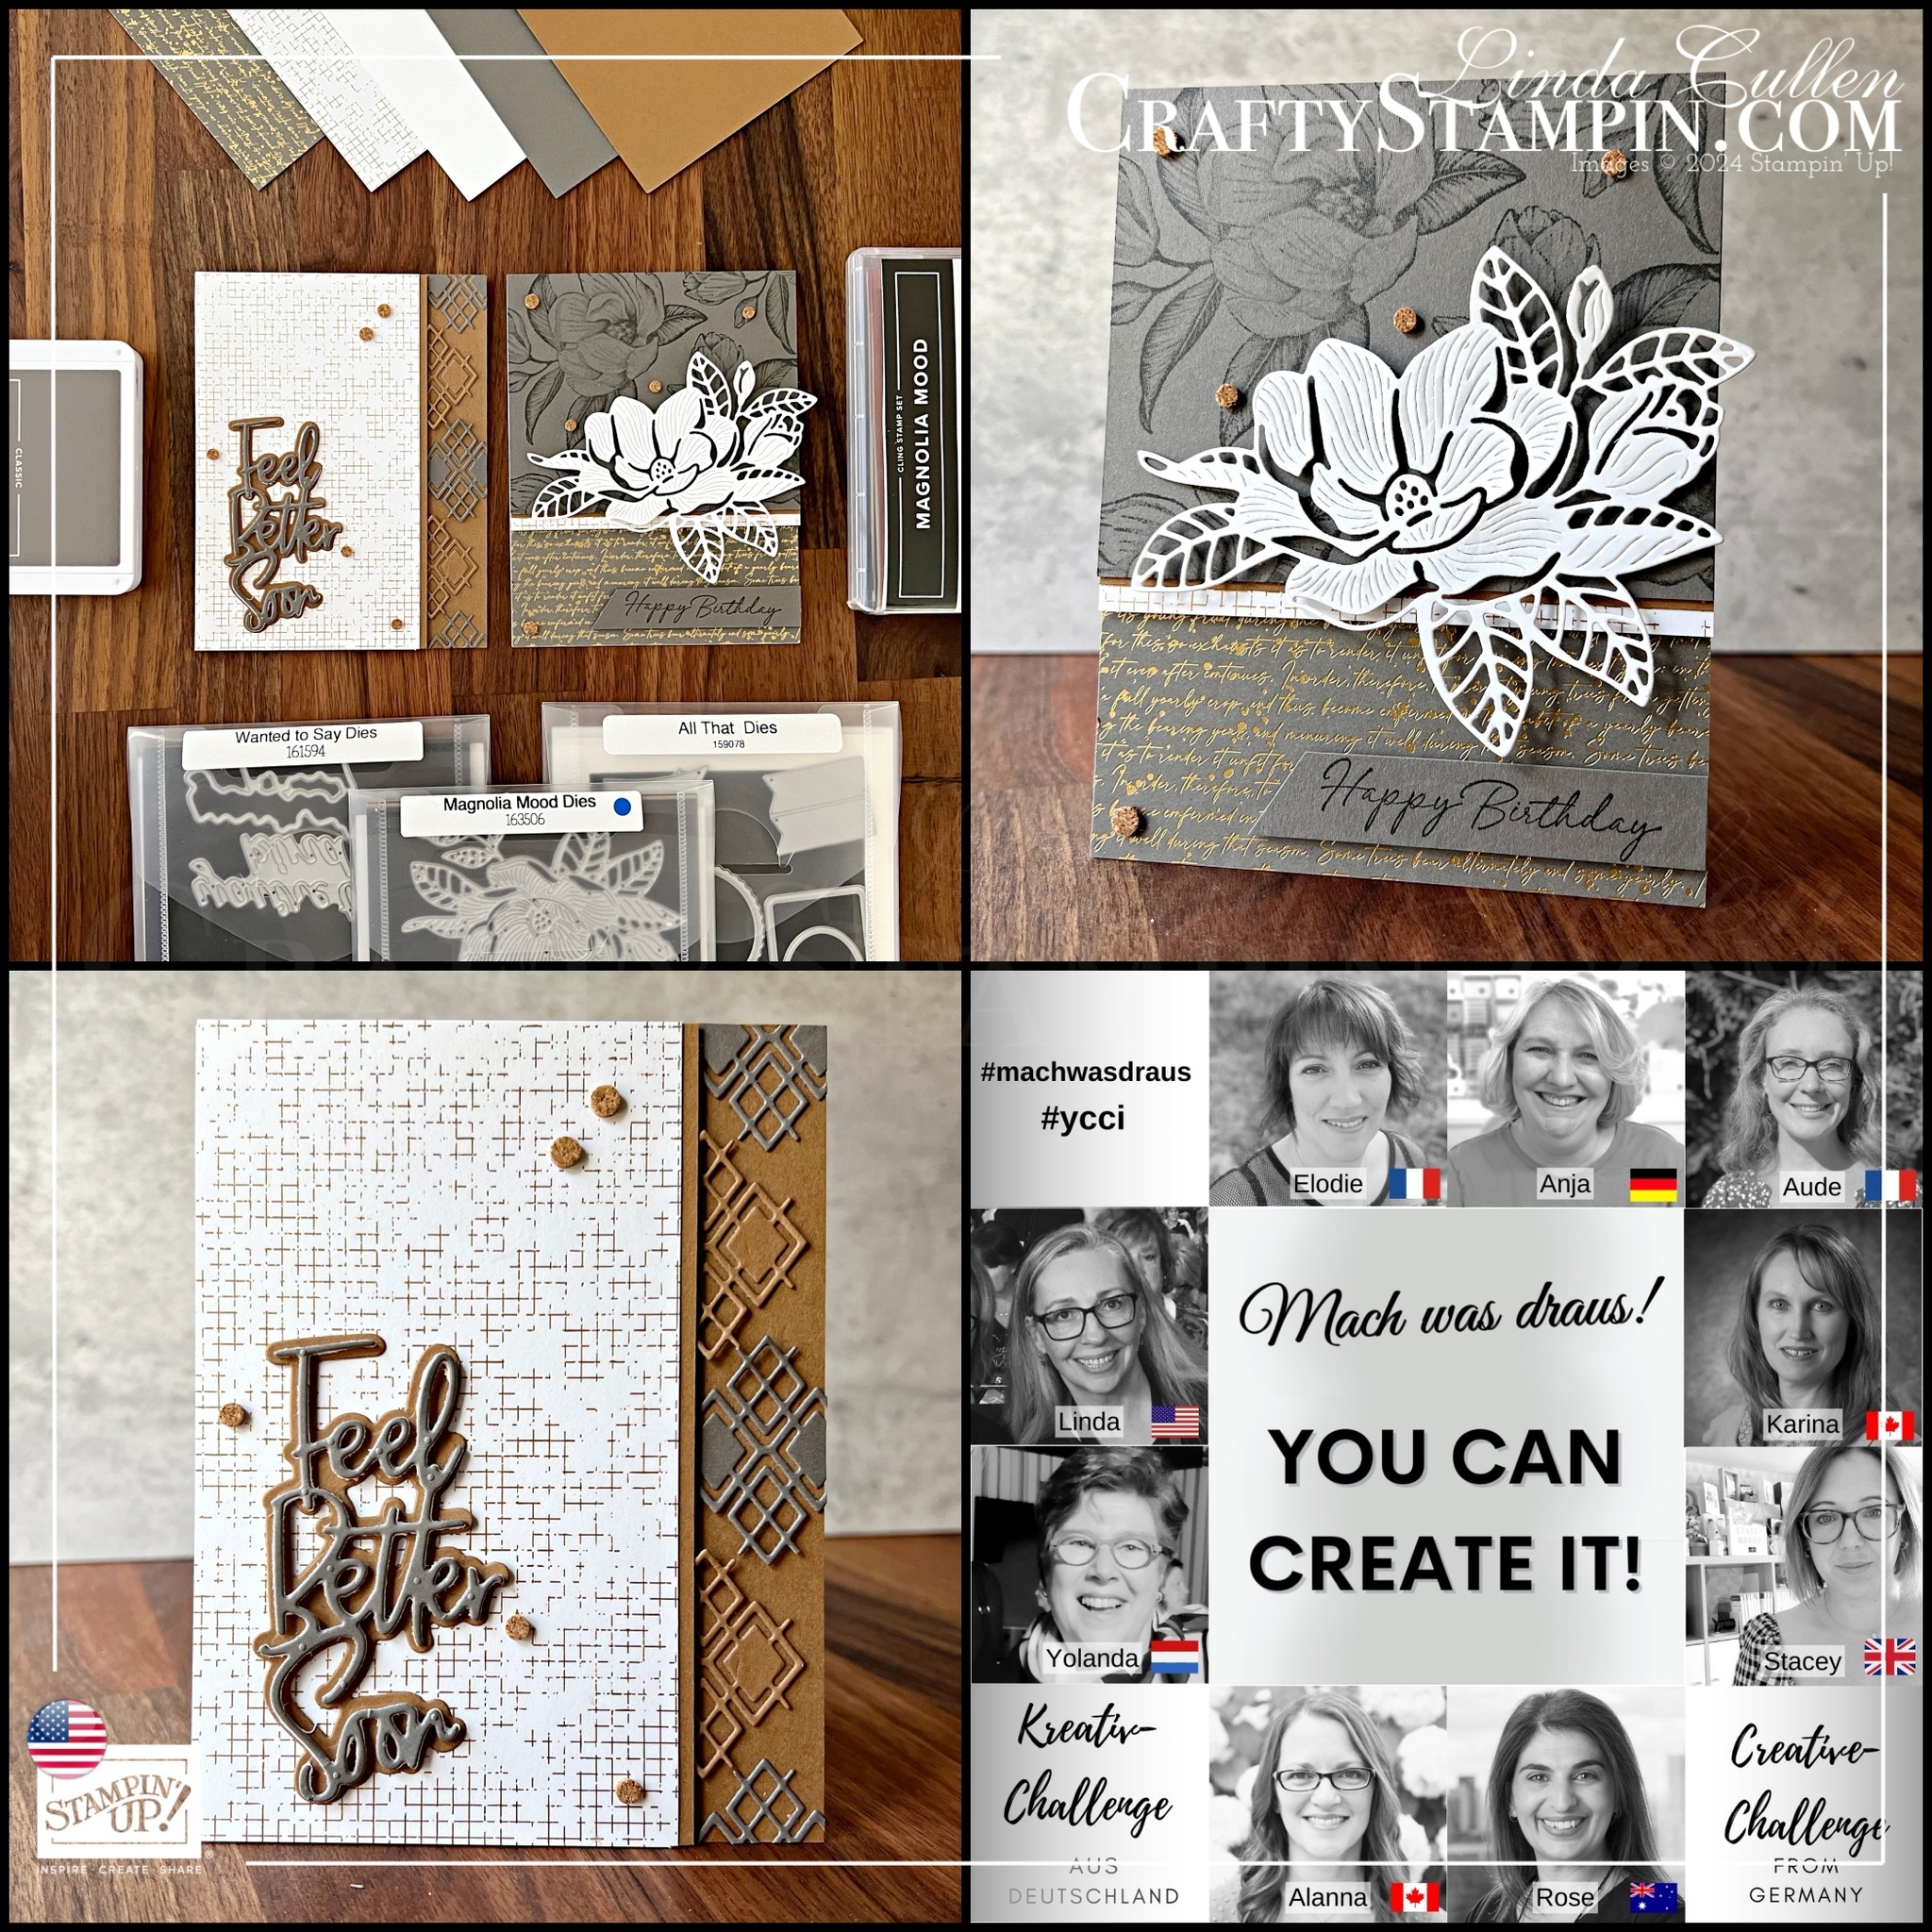
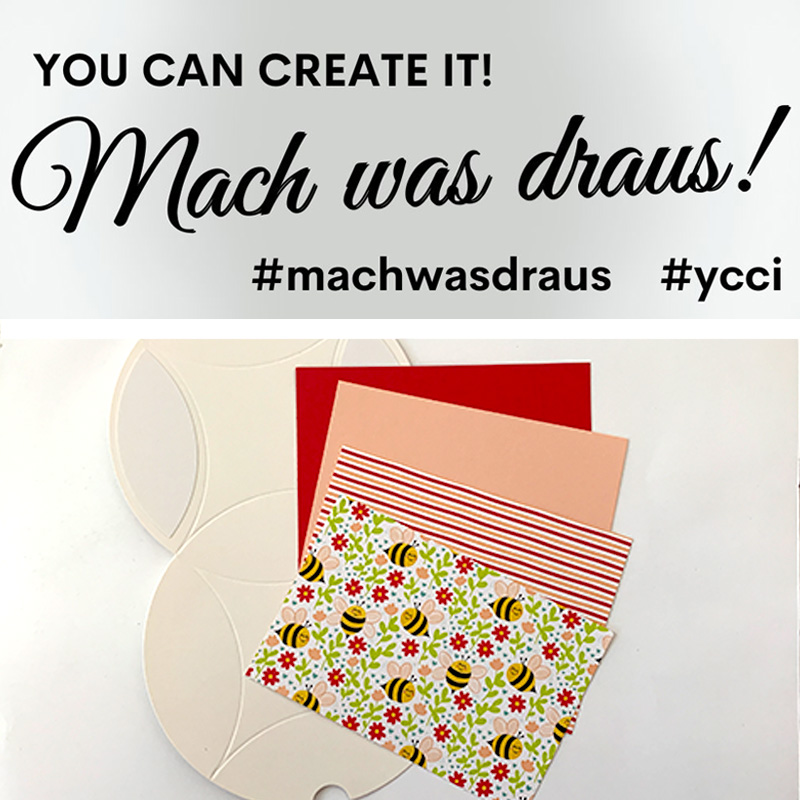
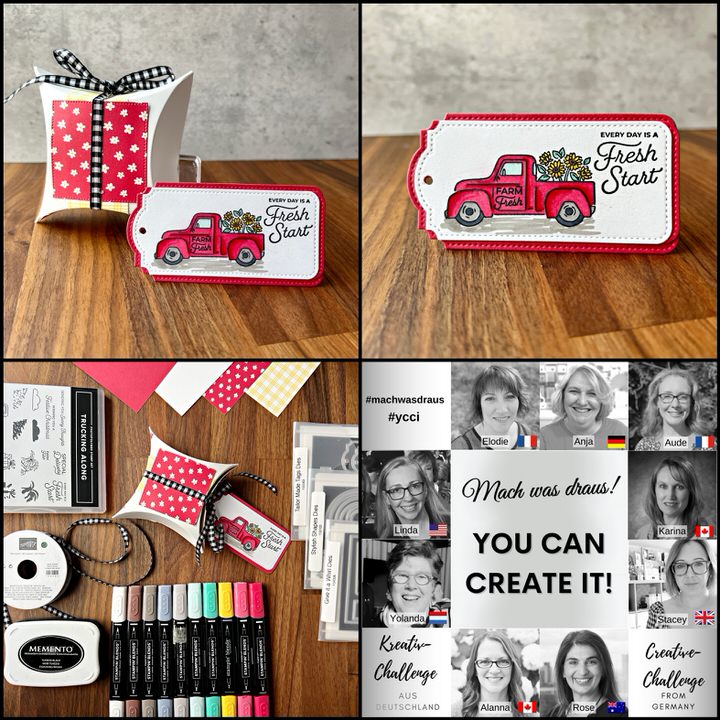
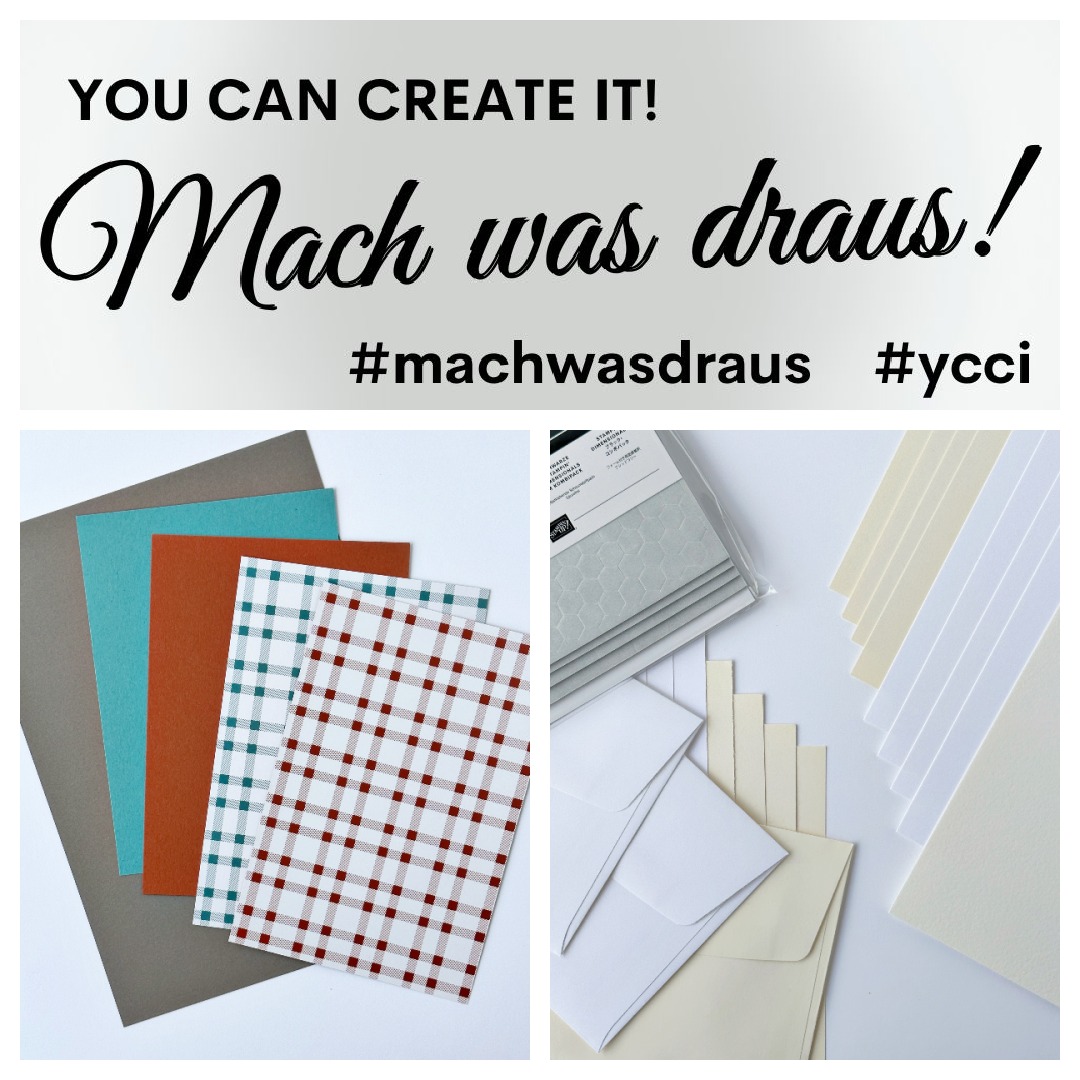
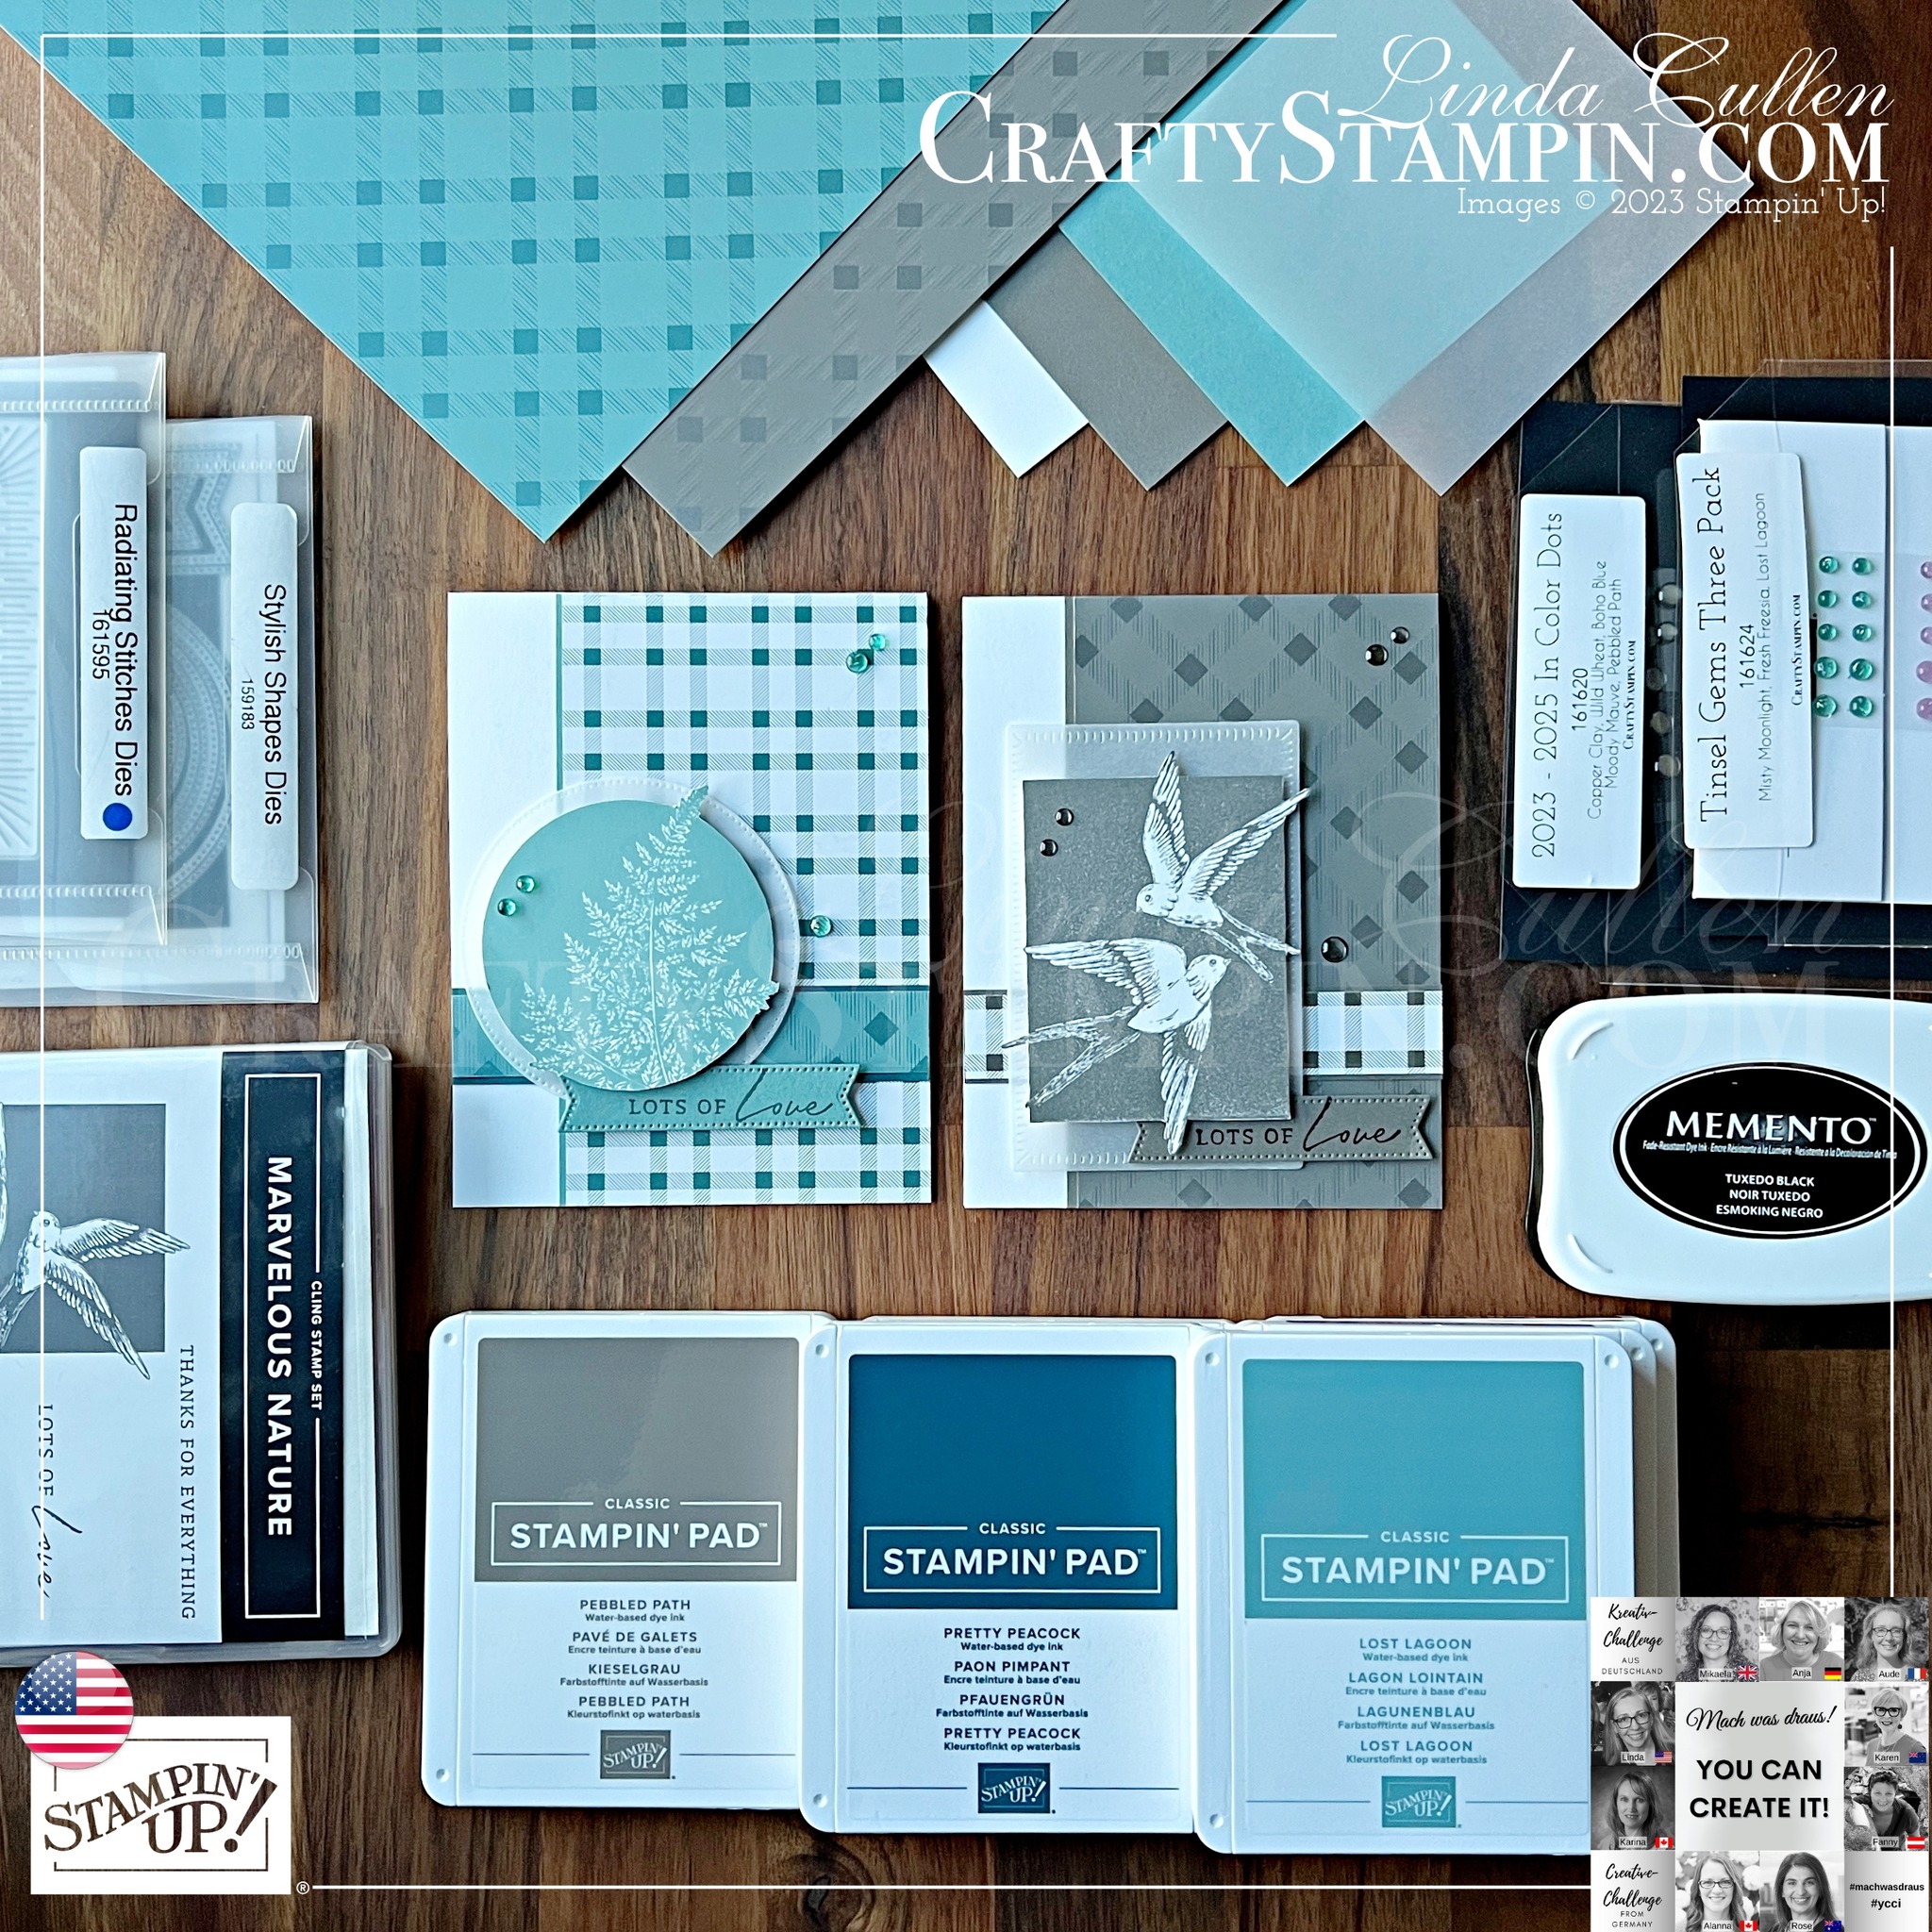
Natures Sweetness is the feature of this months challenge pack in the current You Can Create It kit. Let’s take a look at what was in the pack for this month:
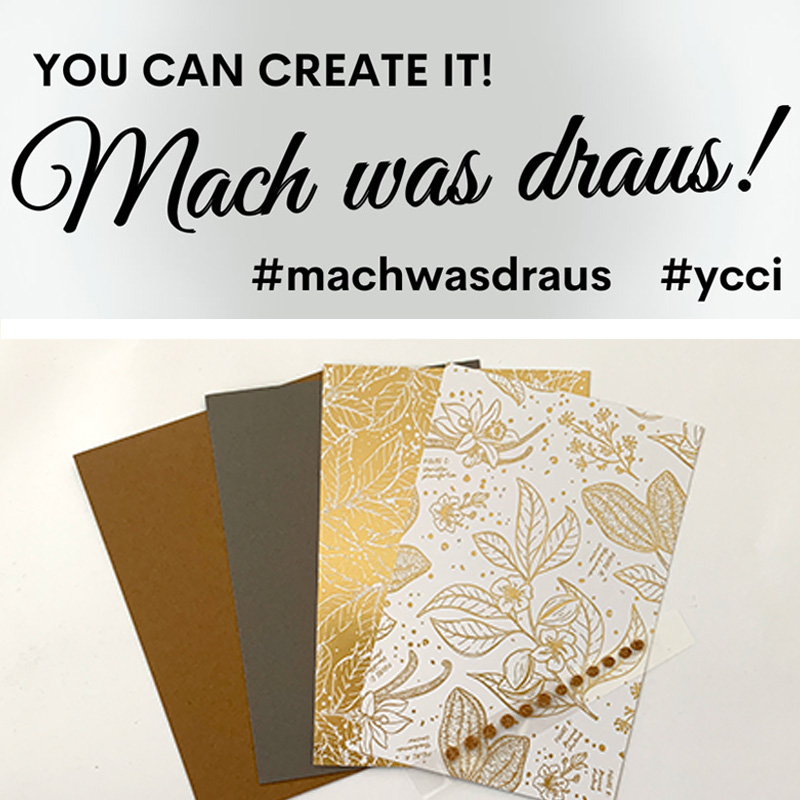
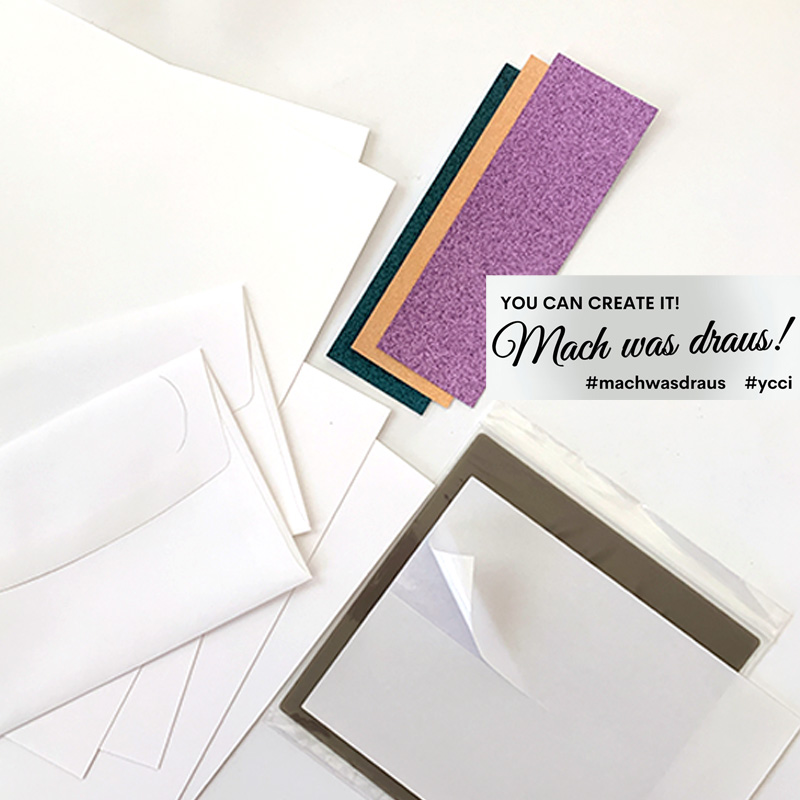
March Pack featuring a selection of products from the Nature’s Sweetness suite and Extra Materials to share across the four months of challenges.
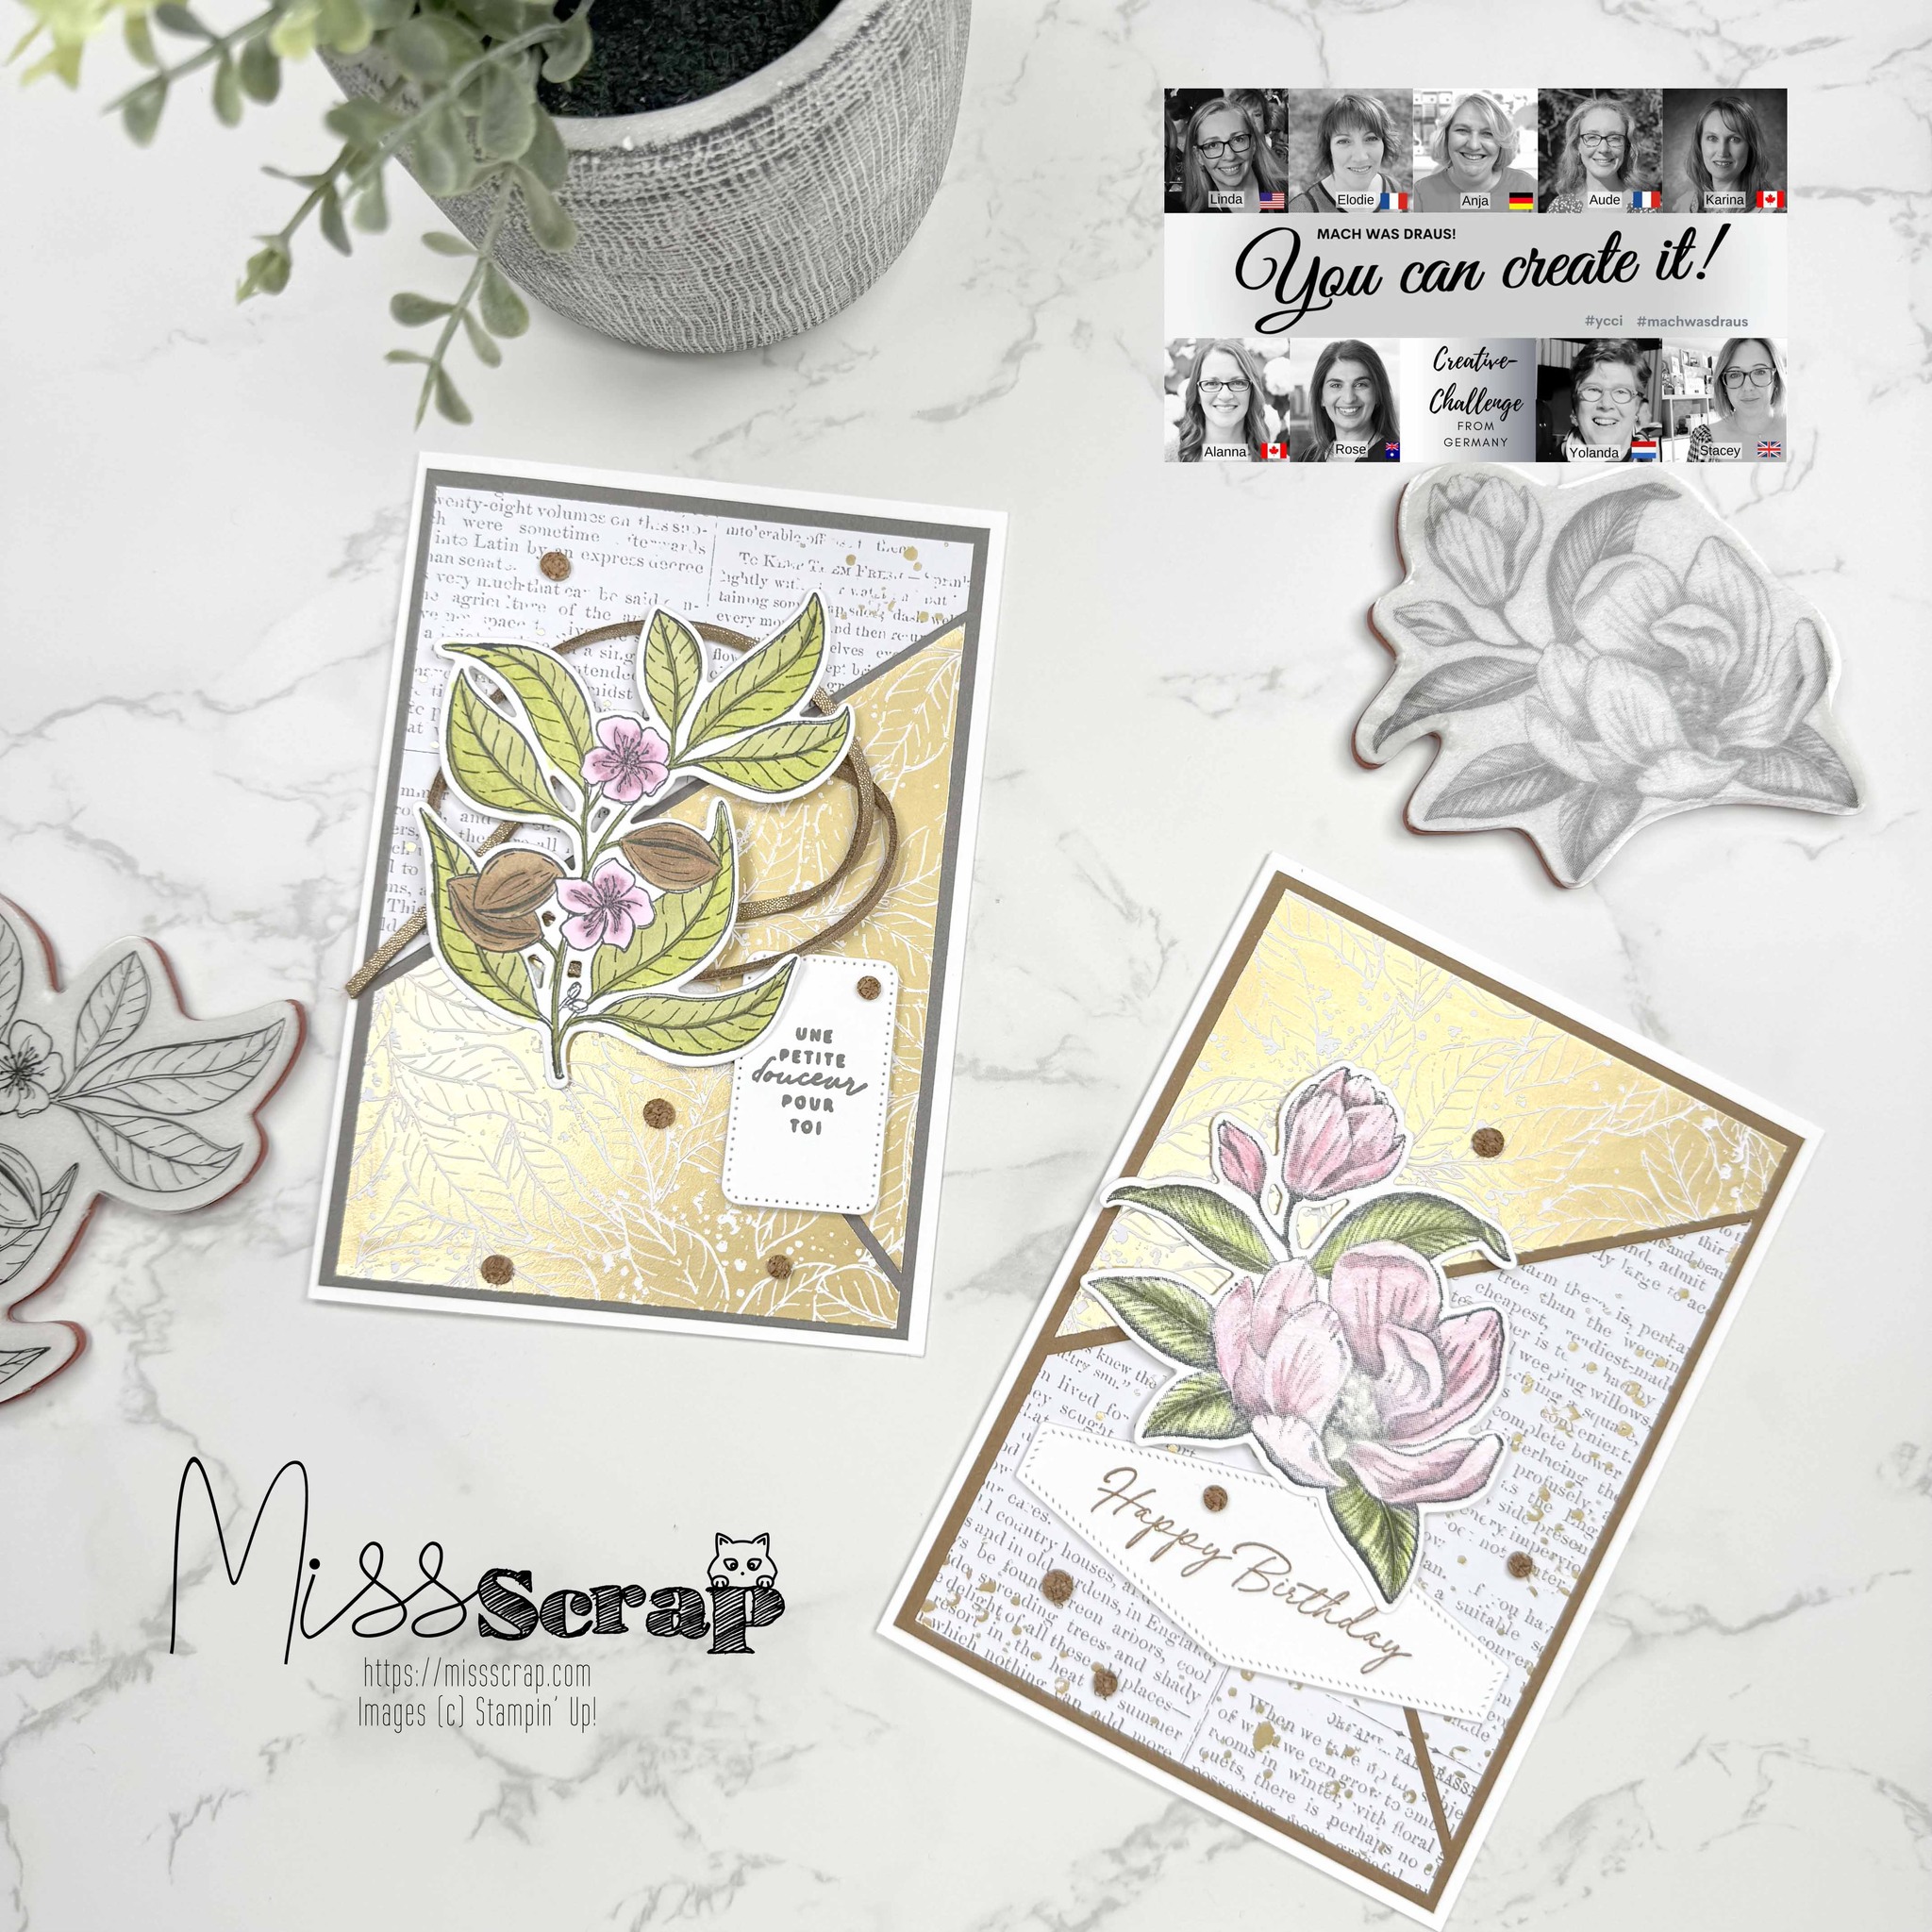
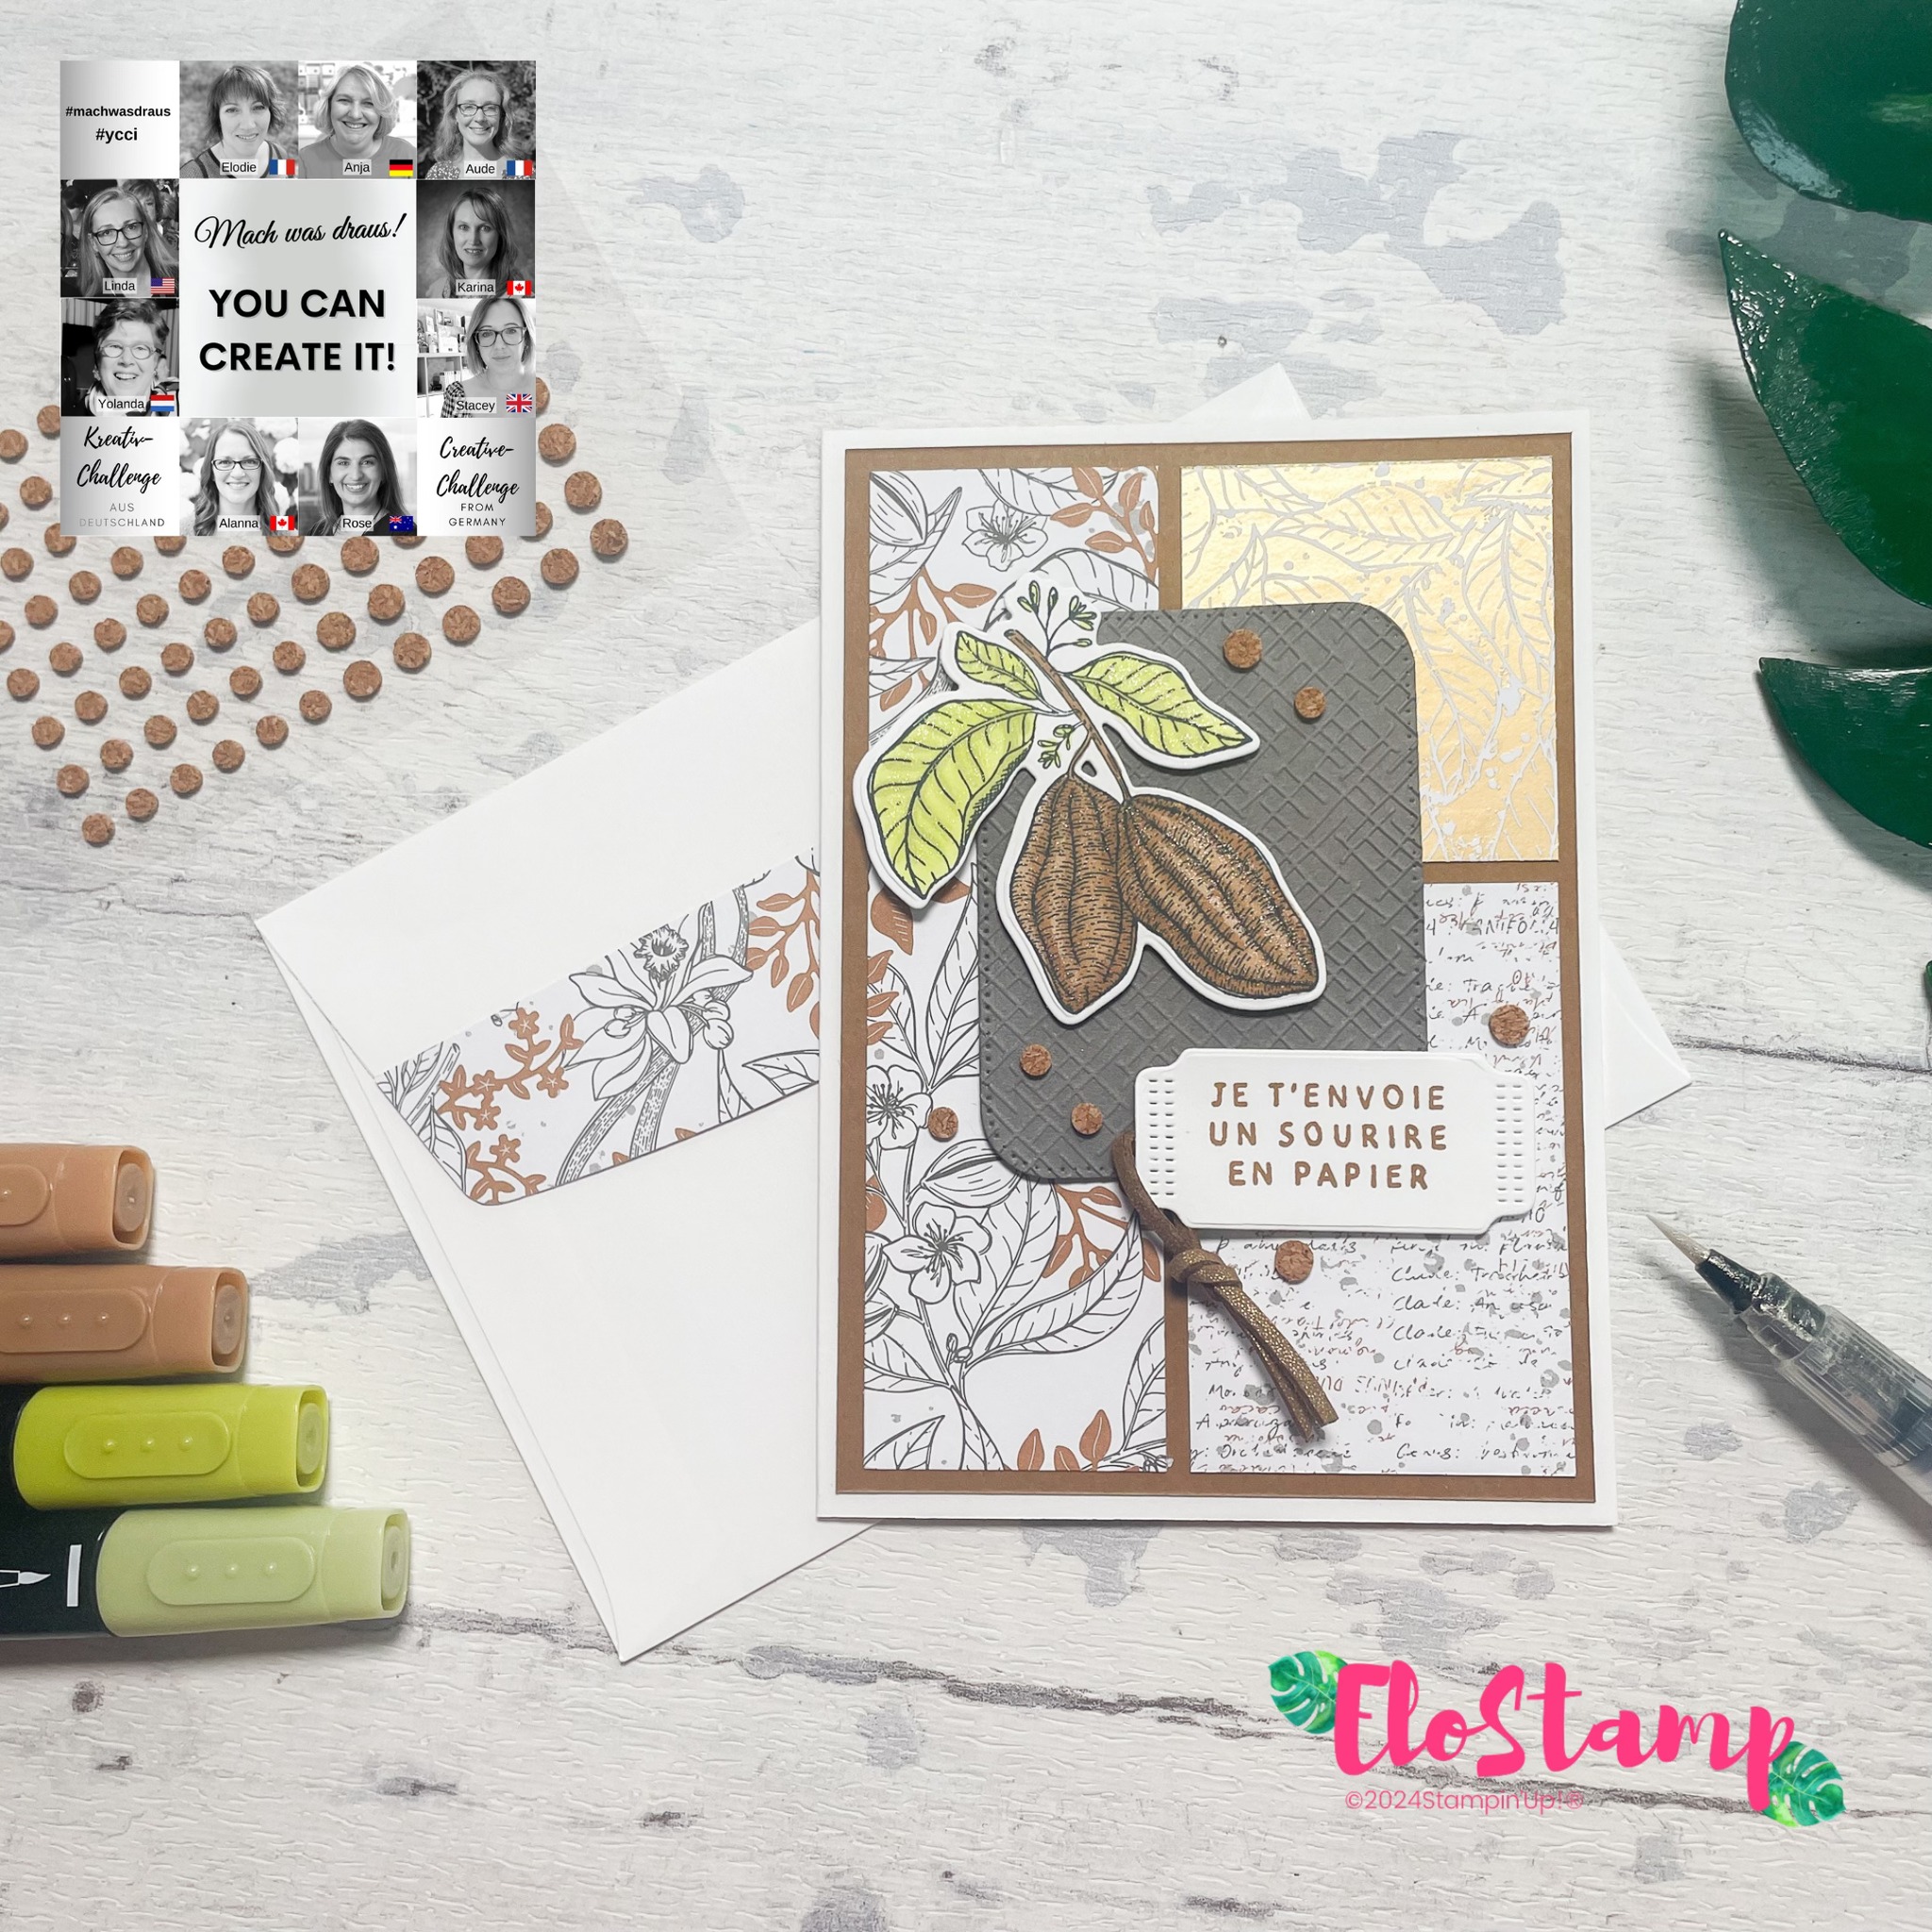
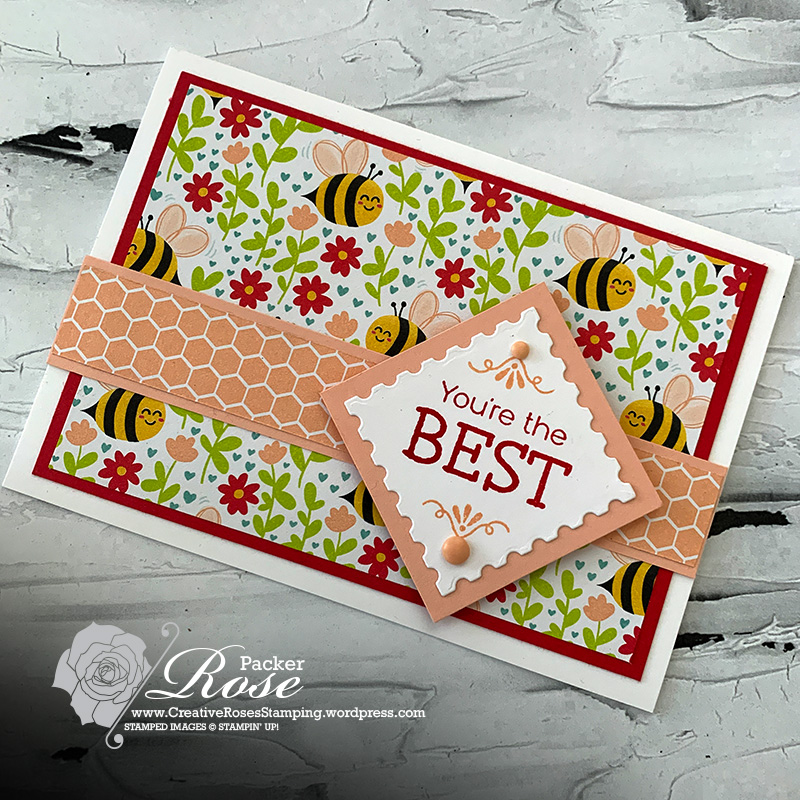
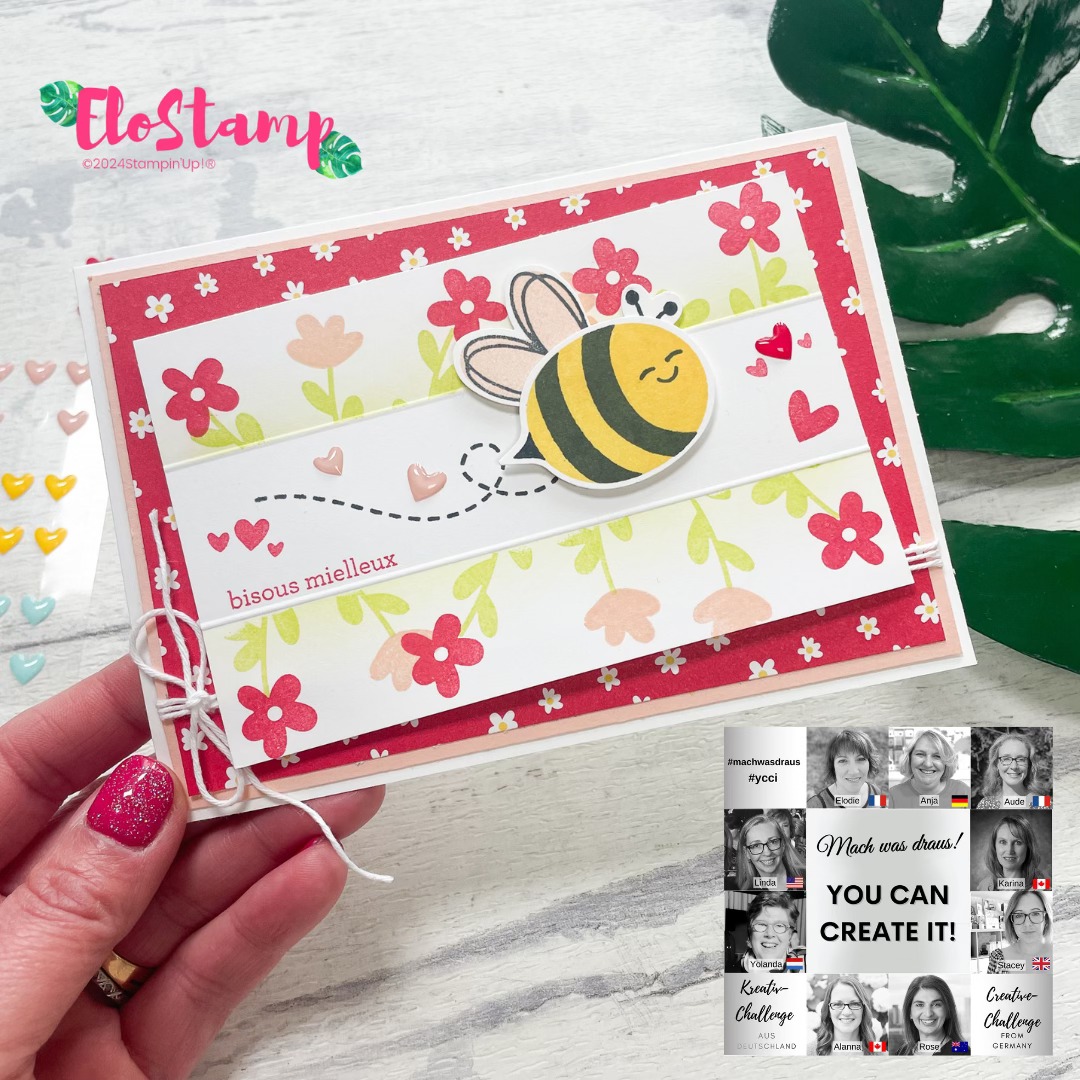
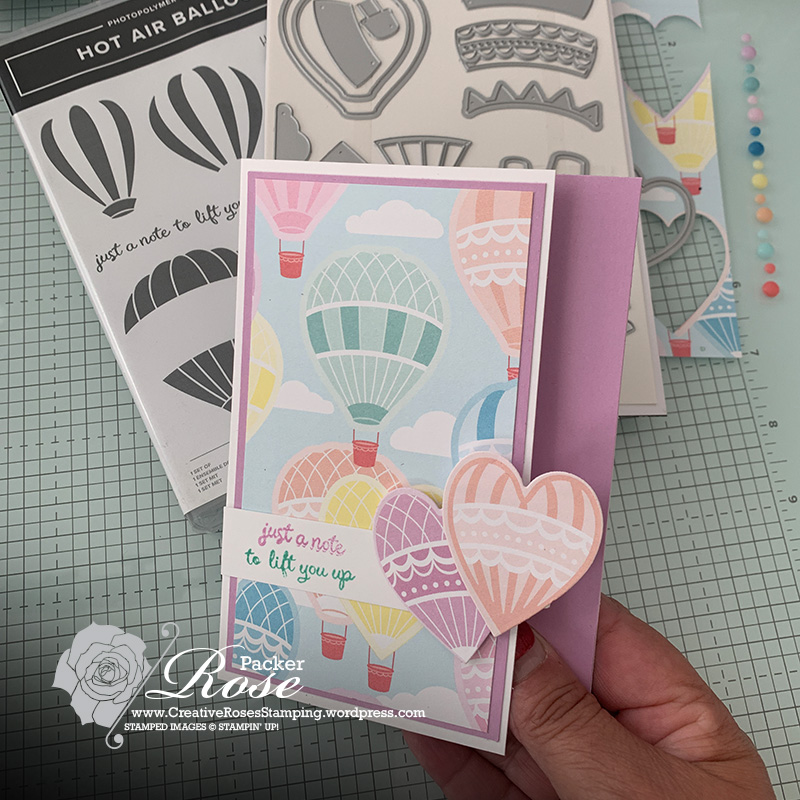
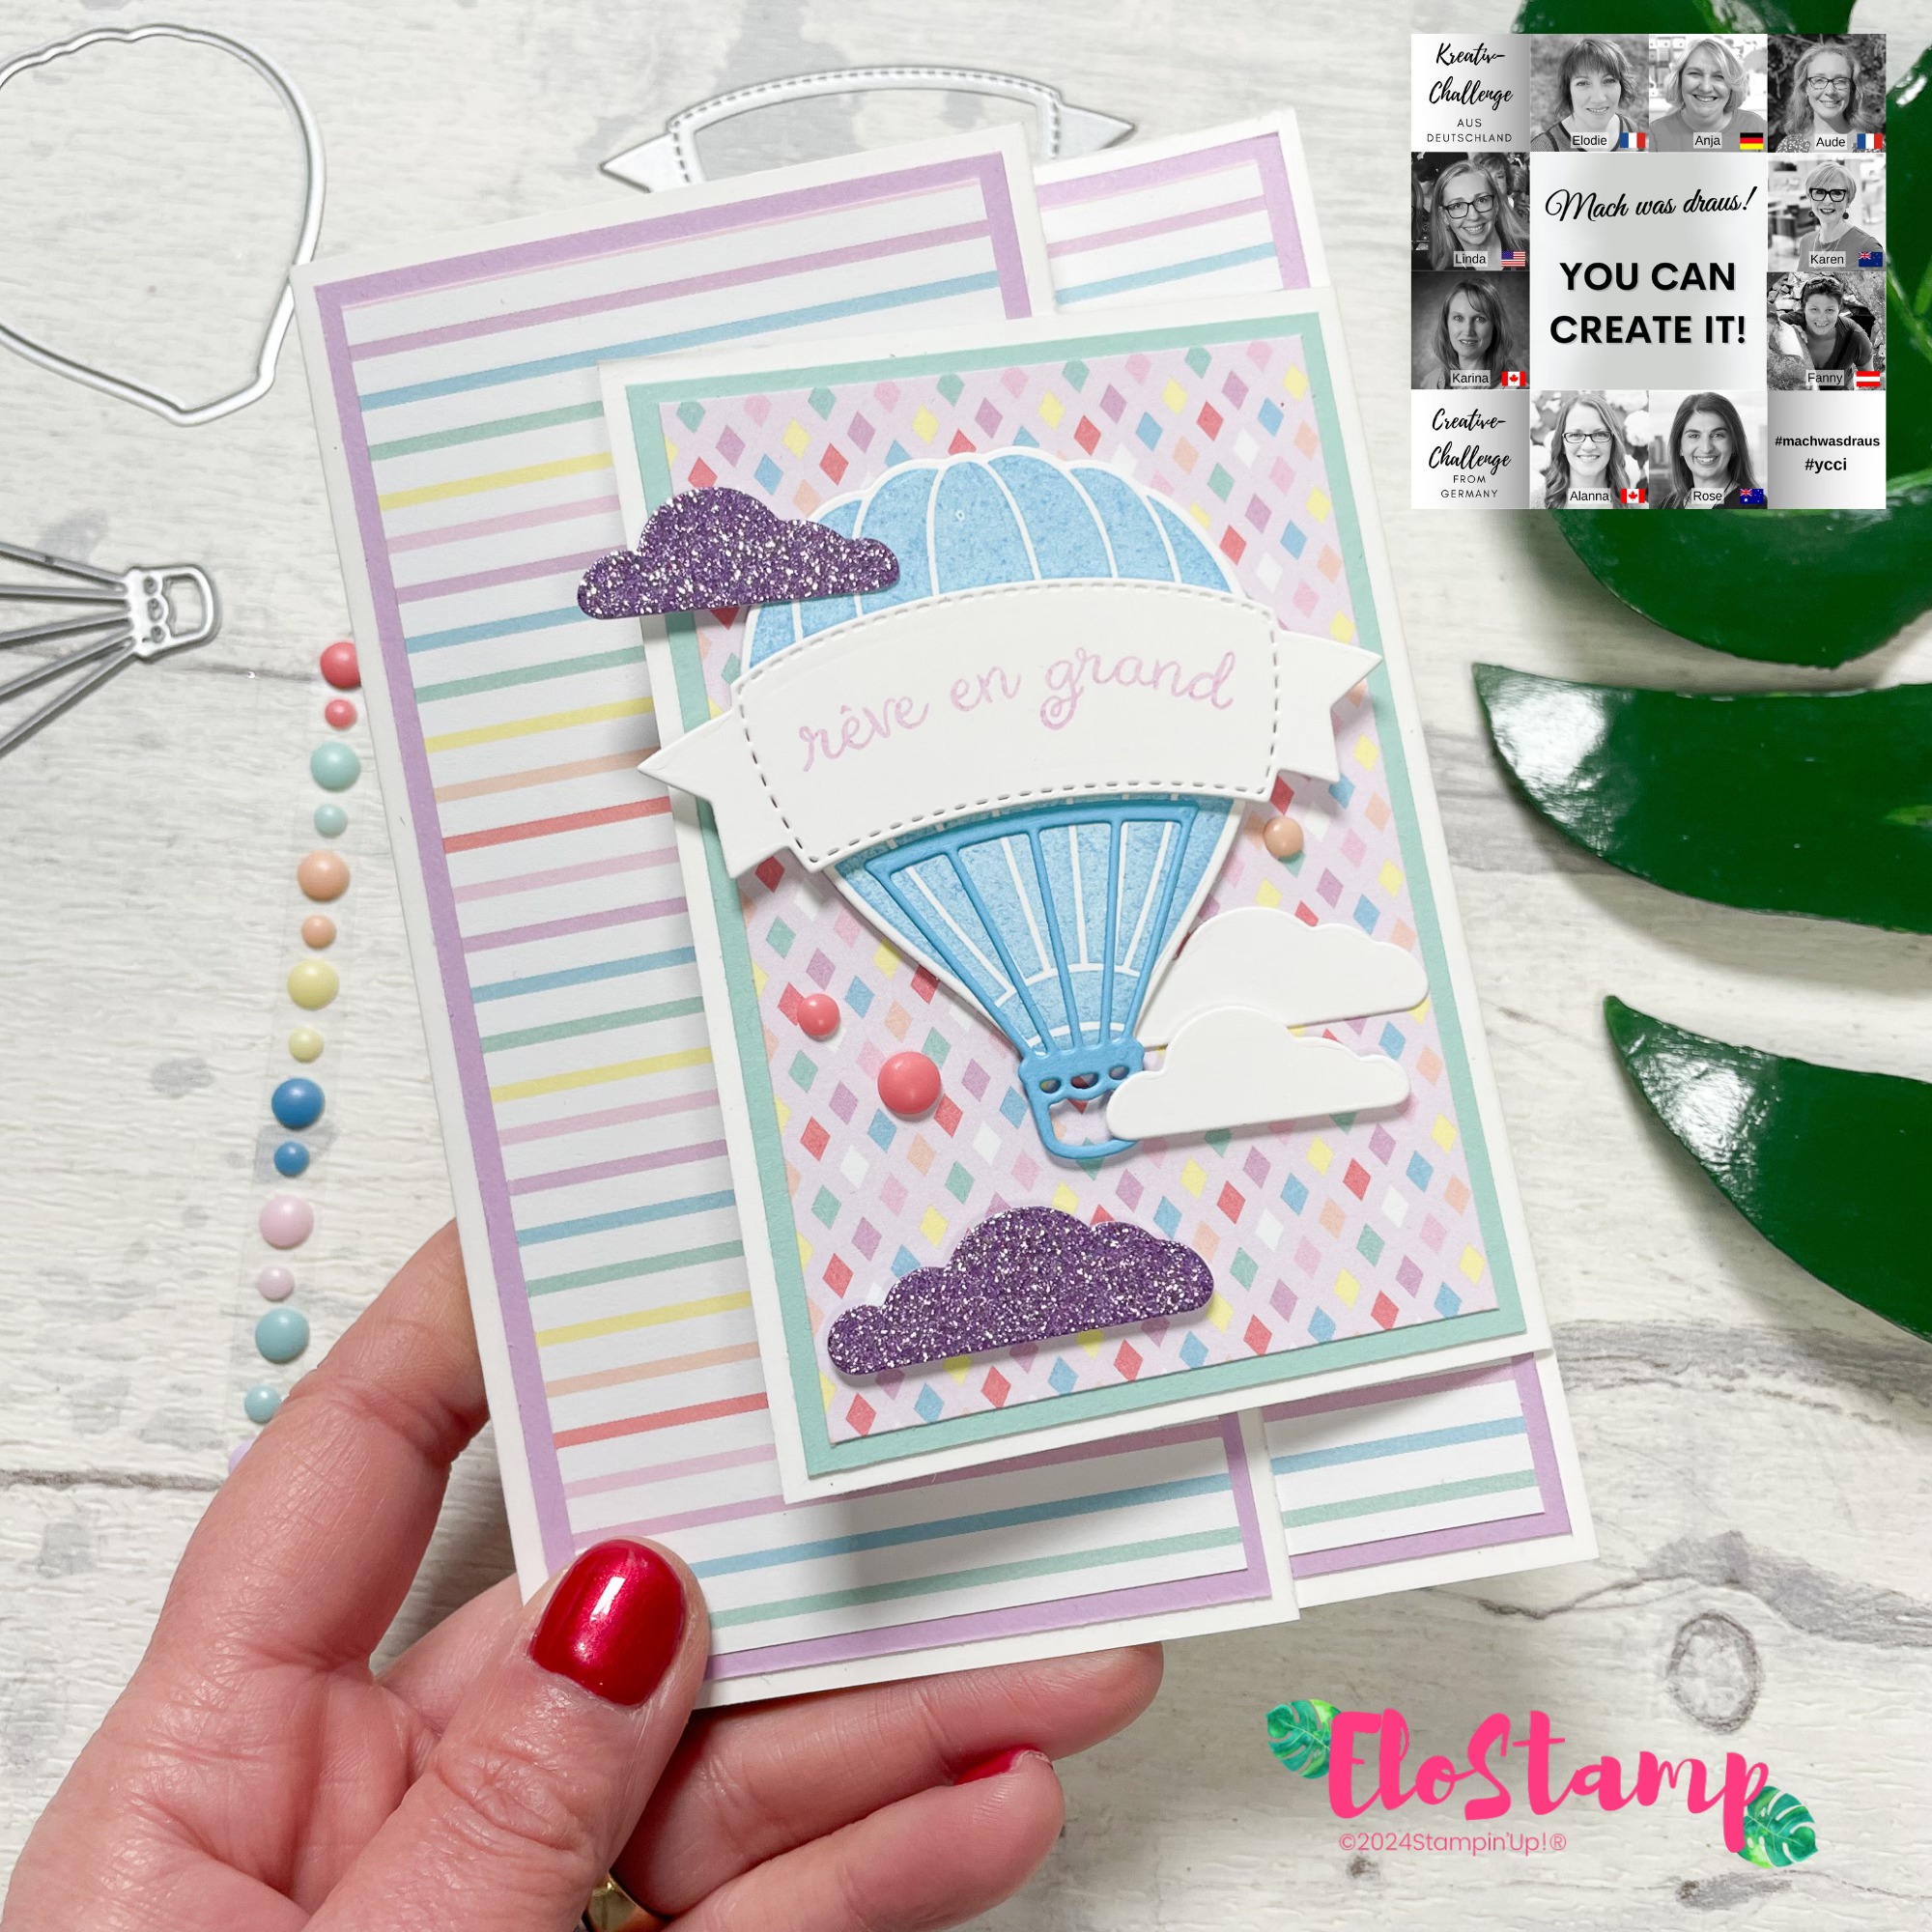
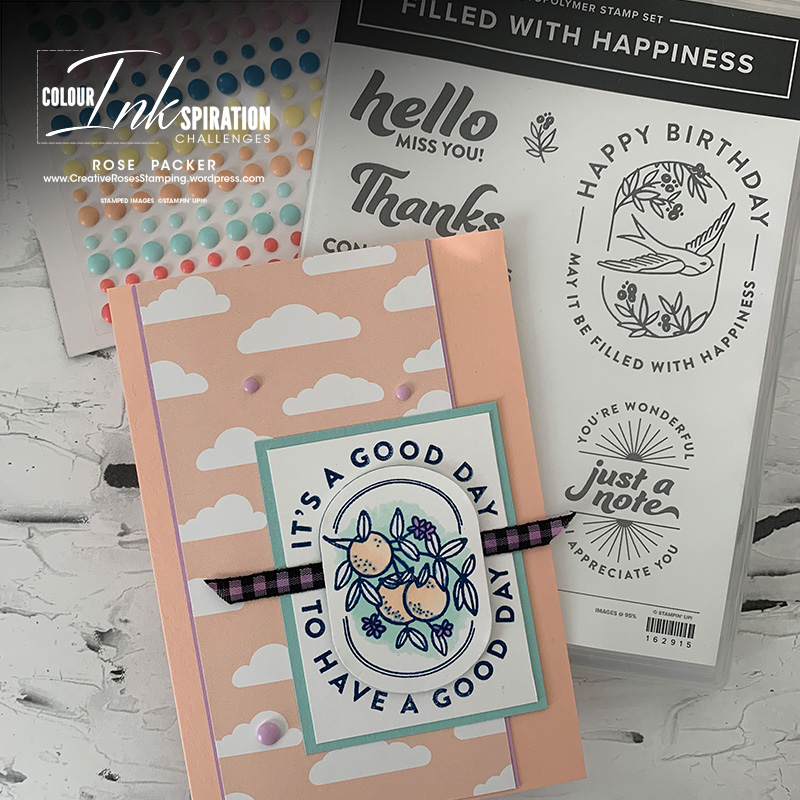
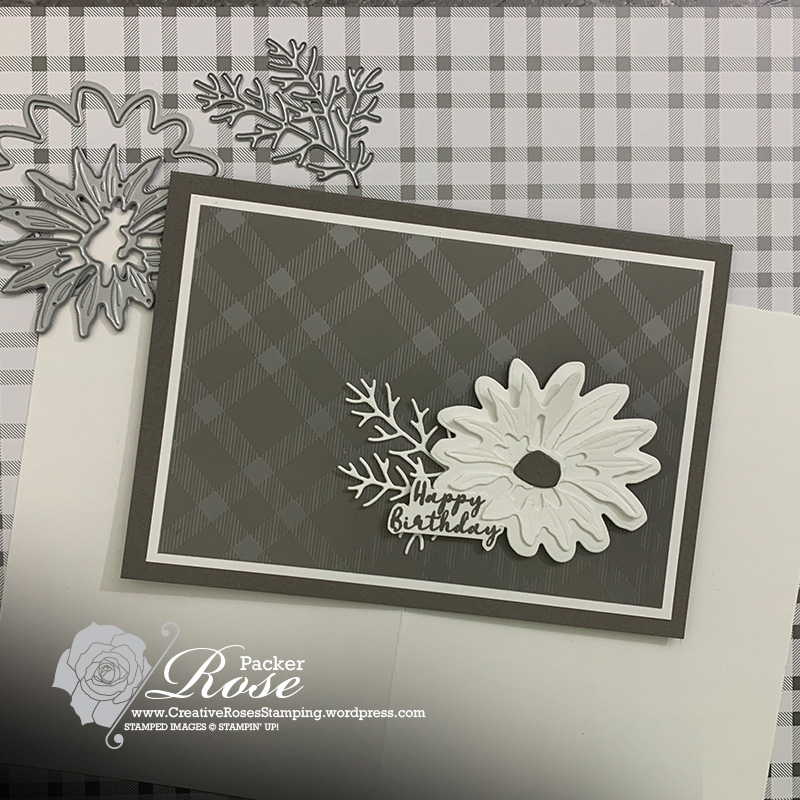
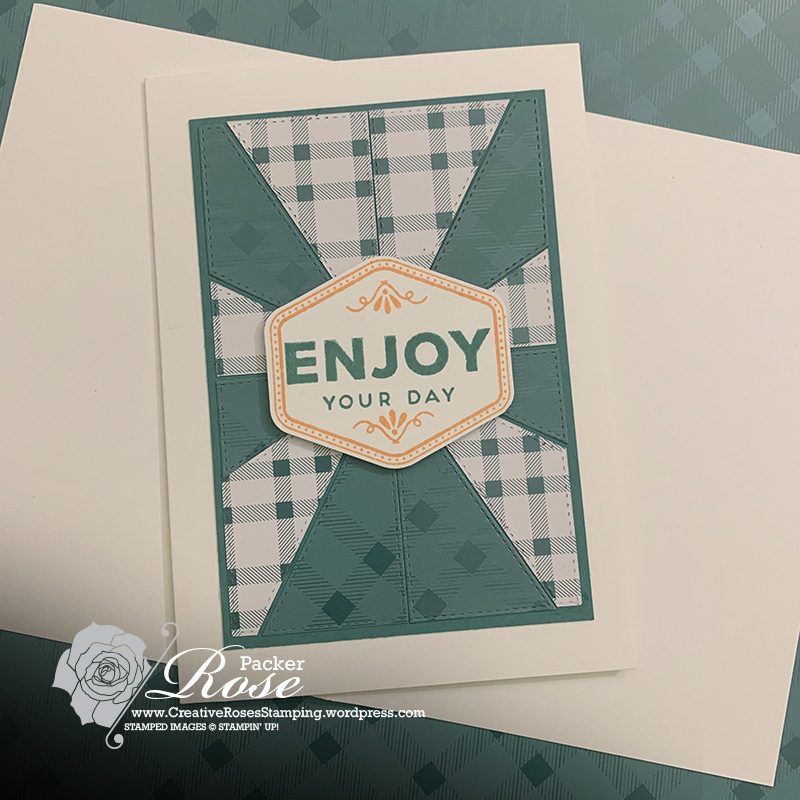
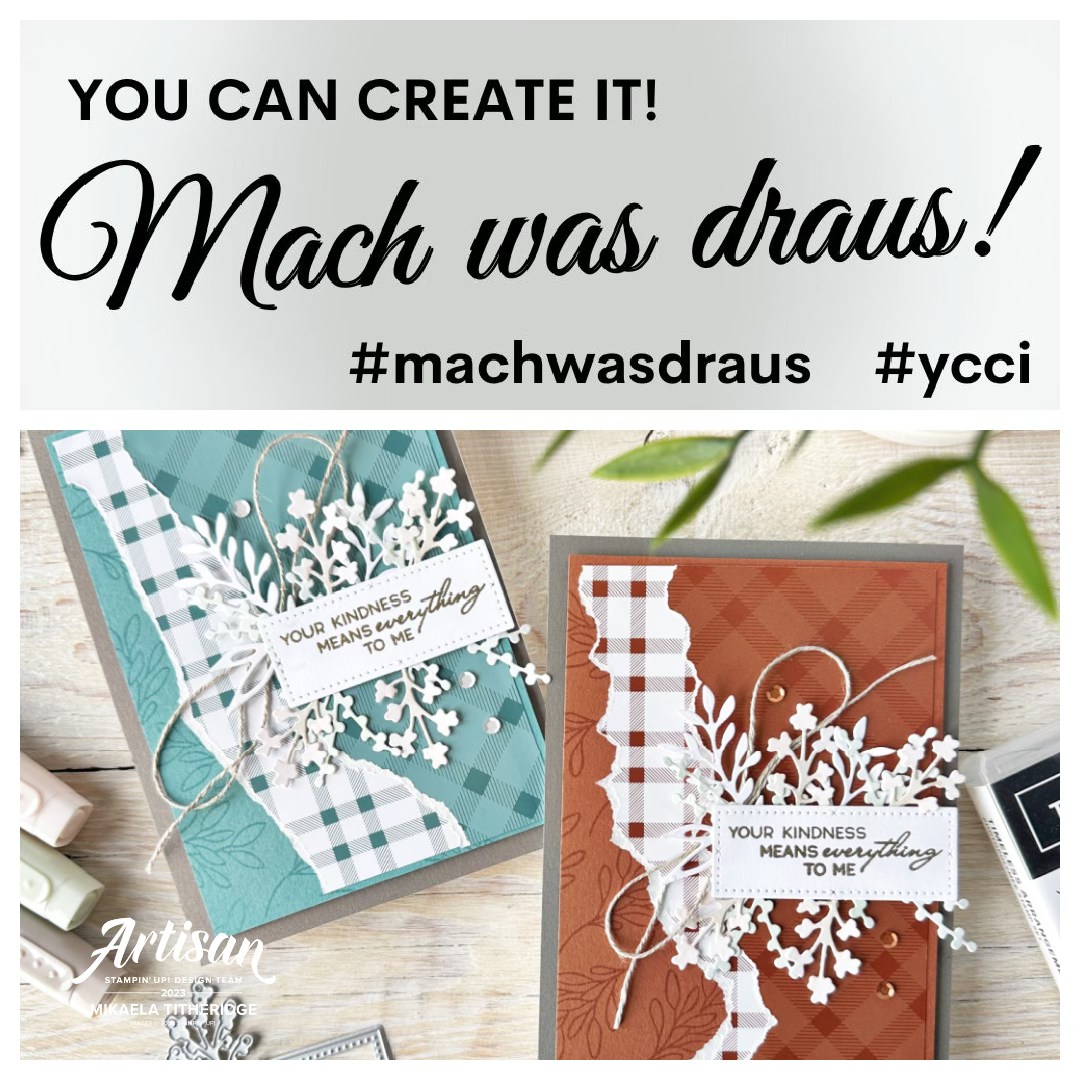
Using these supplies, I made this card…
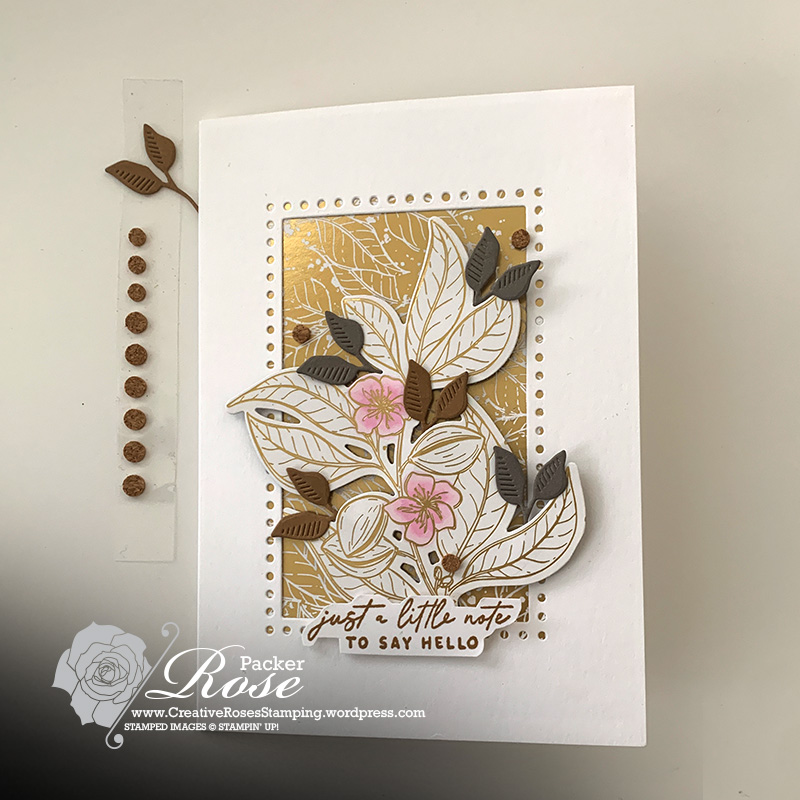
What I did here, was die cut the card front and utilise both designs of the designer paper…. I mean, really, it’s so hard to choose which side to use anyway. The Everyday Details Dies are just so incredible, they are perfect for creating these types of cards.
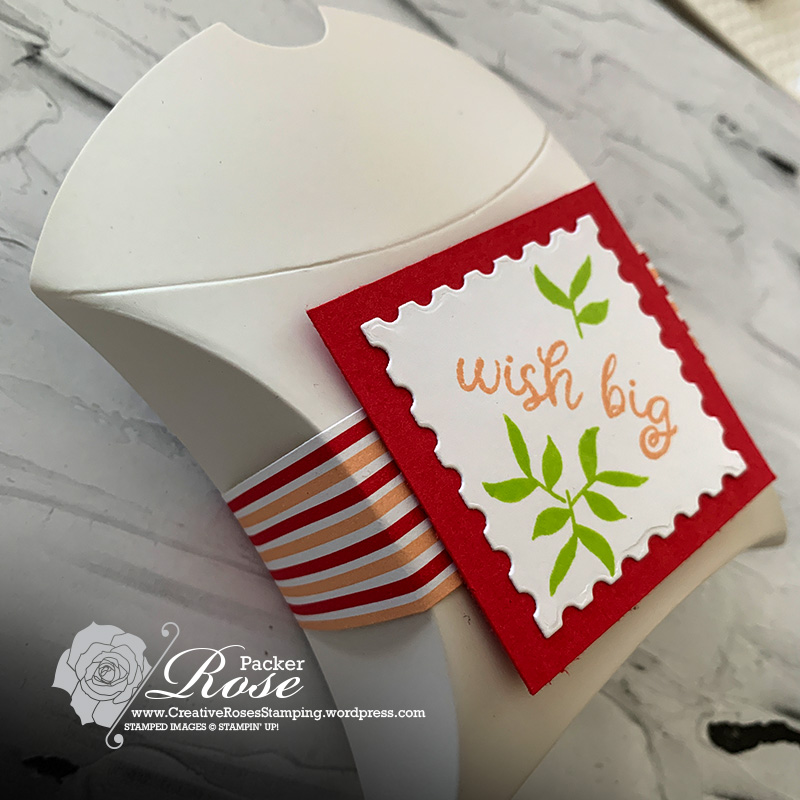
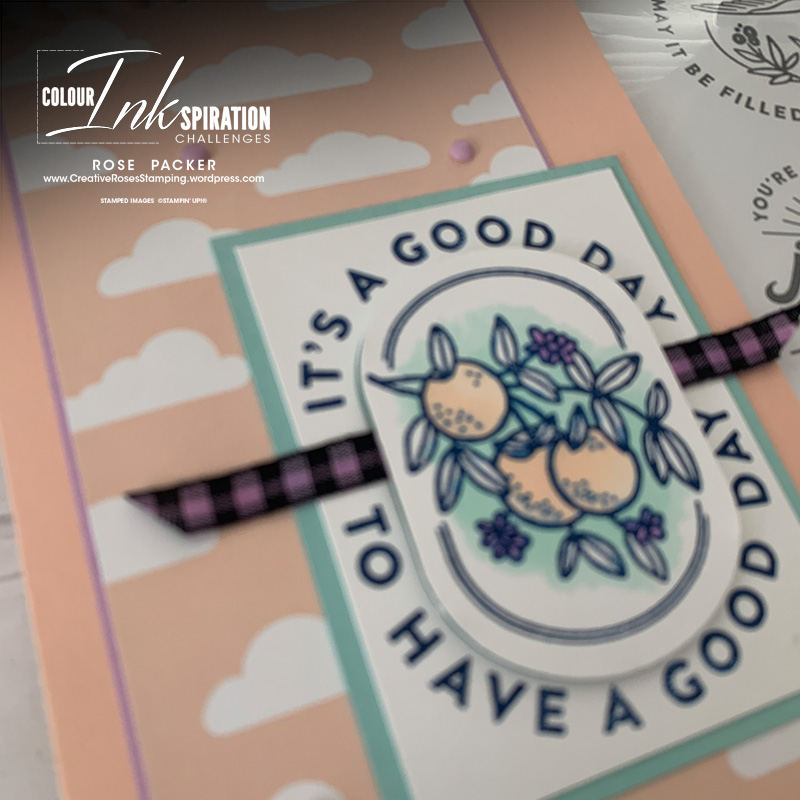
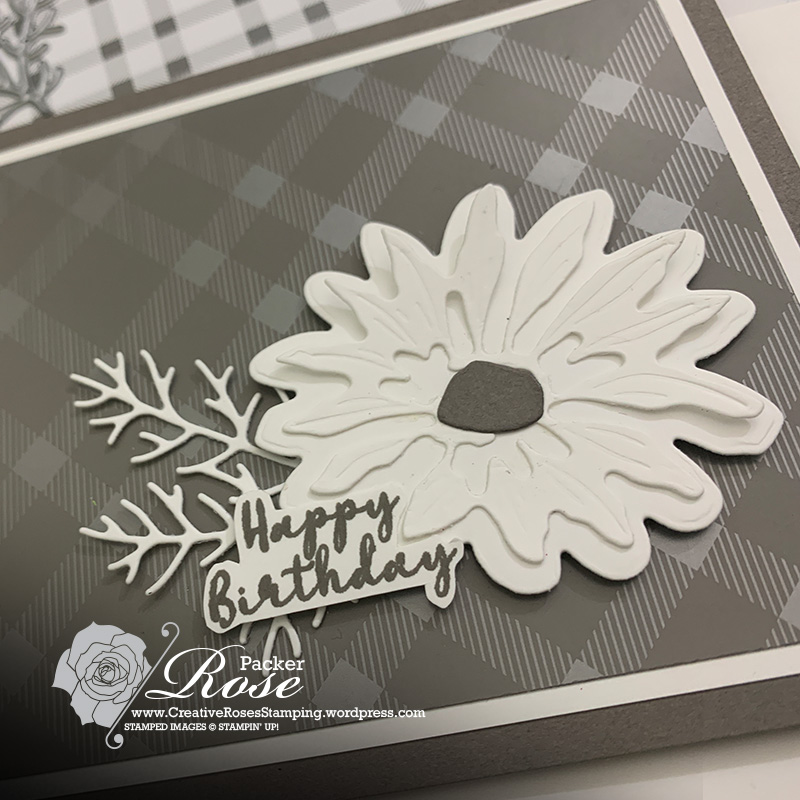
Using the coordinating dies from the Lovely & Sweet bundle, I die-cut the main plant image from the second sheet of designer paper and used this as my main element. I love the neutral tones in this pack, so only coloured the flowers for a touch of colour.

I die cut a couple of leaves from the coloured cardstock in the pack to accent and add a pop to draw your attention. I finished off the card with a simple sentiments stamped in Pecan Pie ink and a few of the gorgeous cork rounds.
If you want to know more about these You Can Create It Kit challenges and how you can be involved. More info is here, on the Online Classes & Kits page.
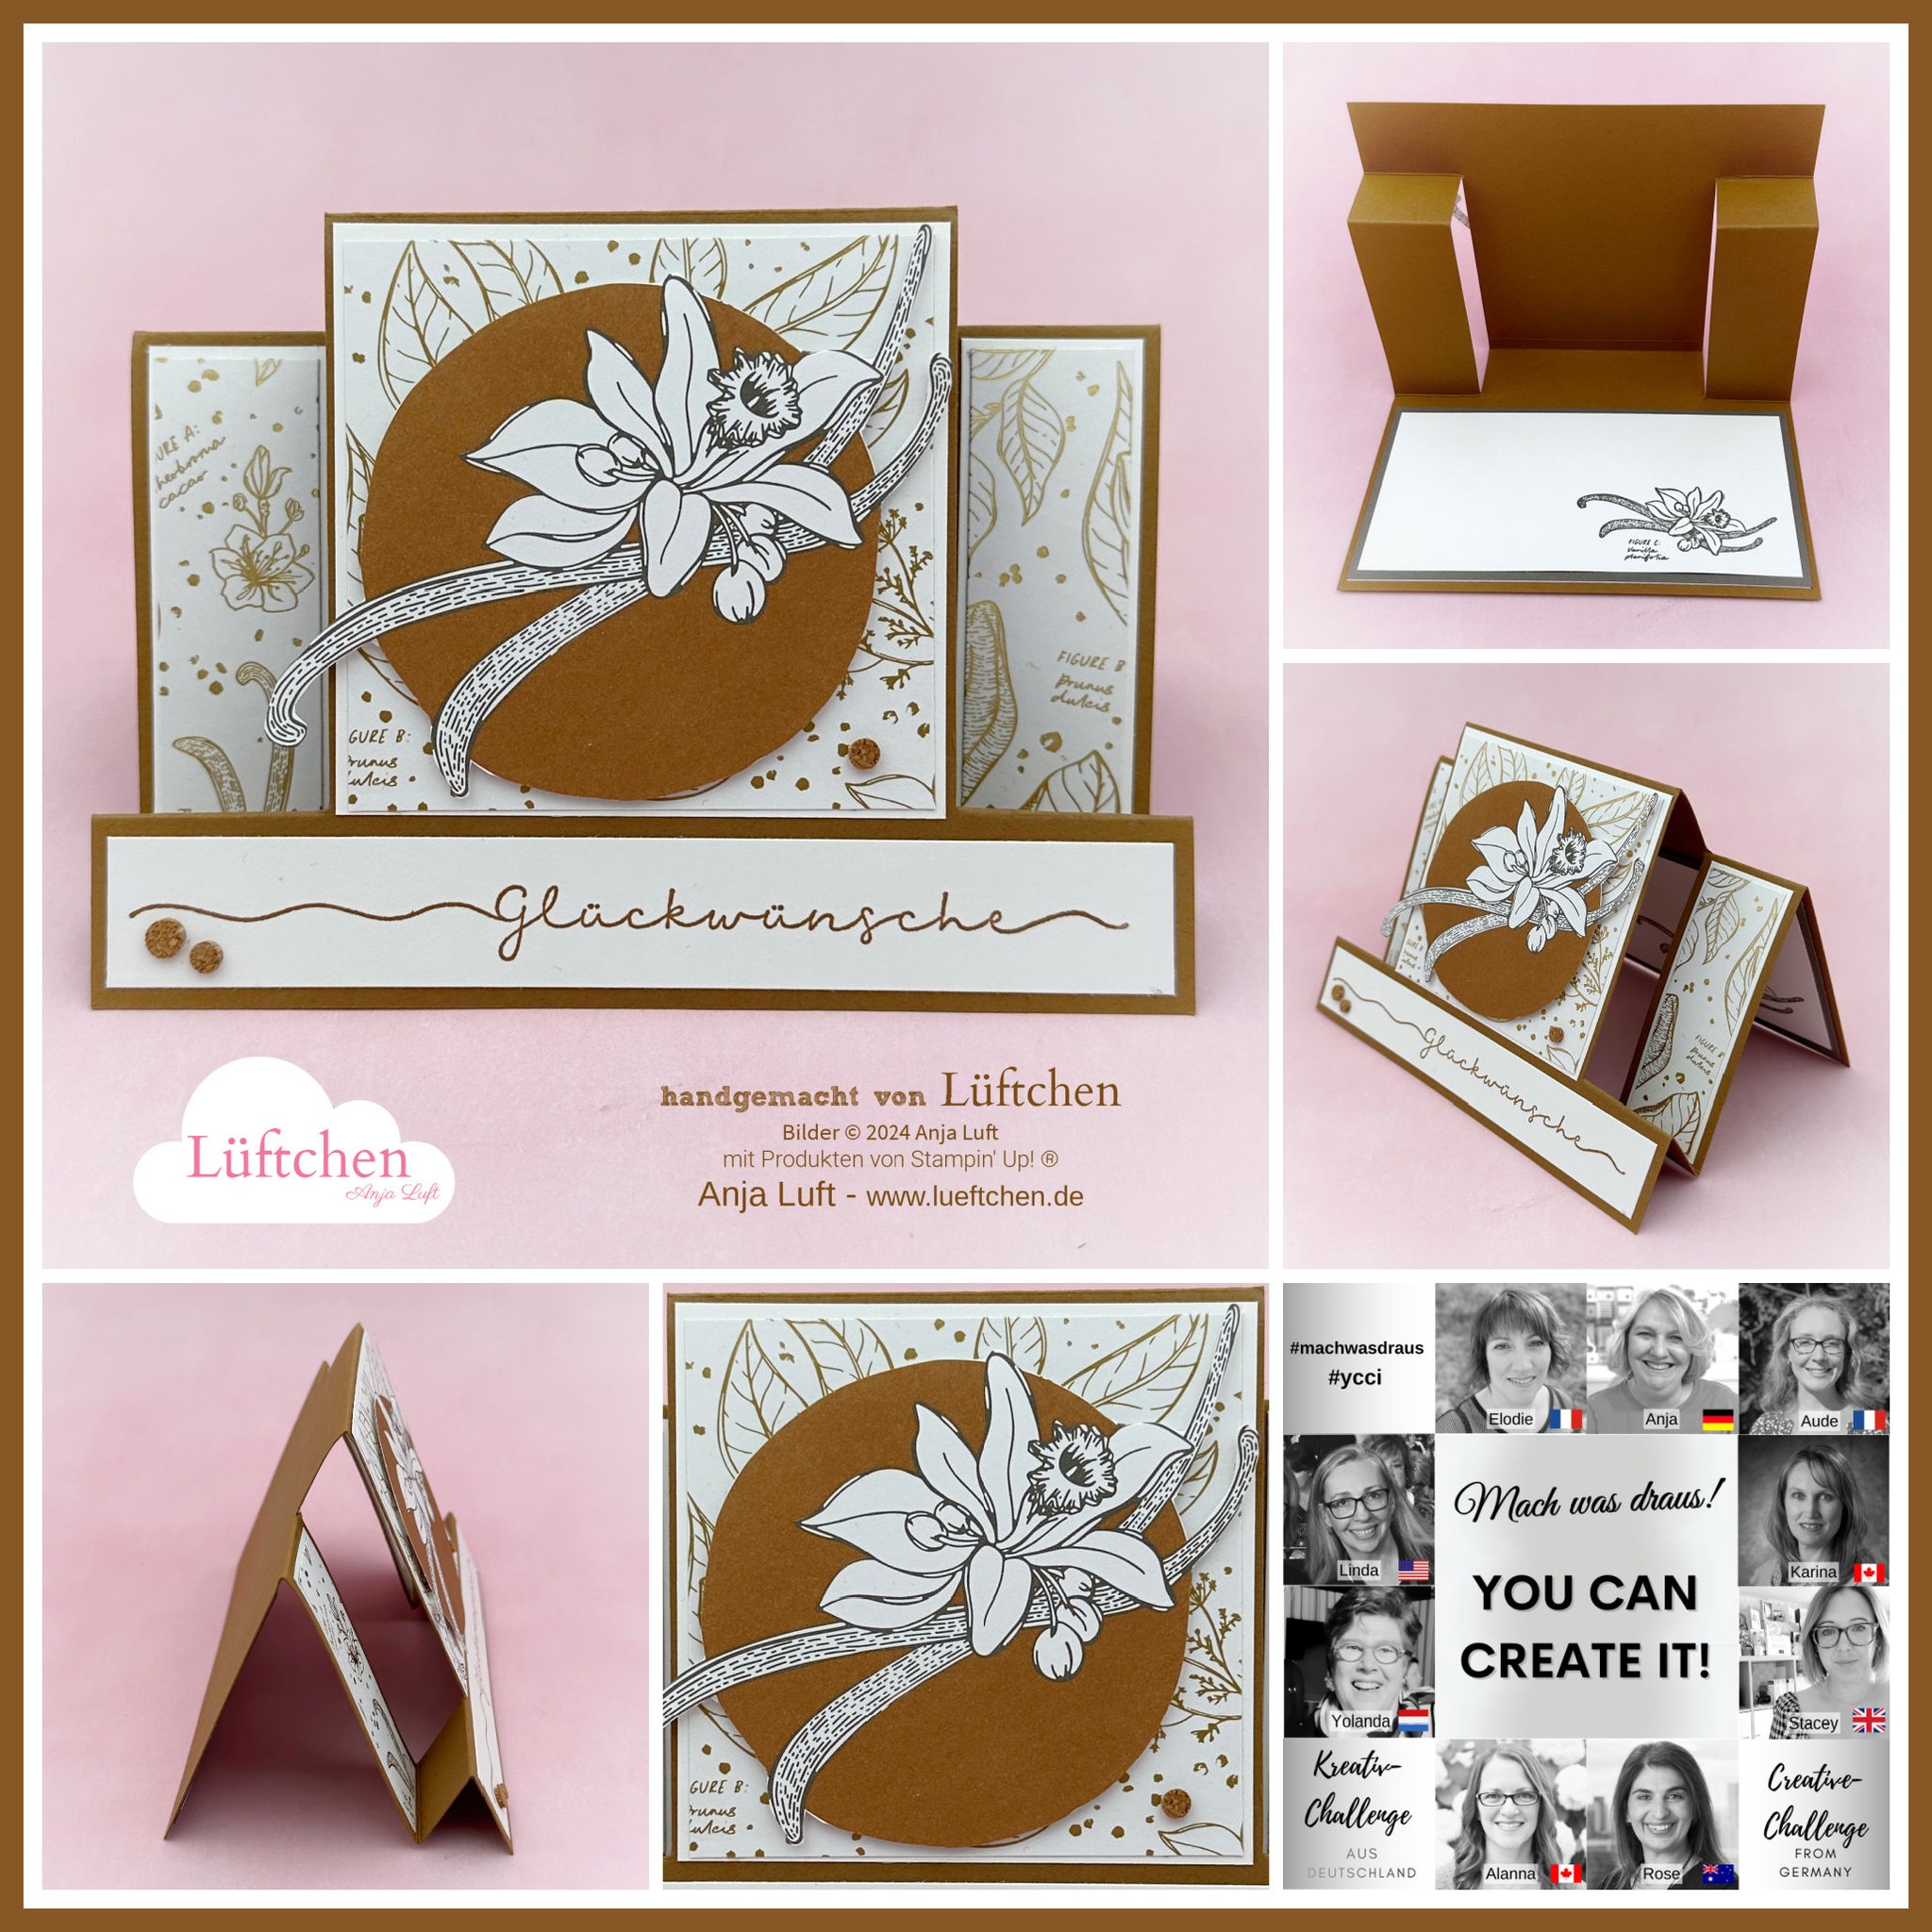
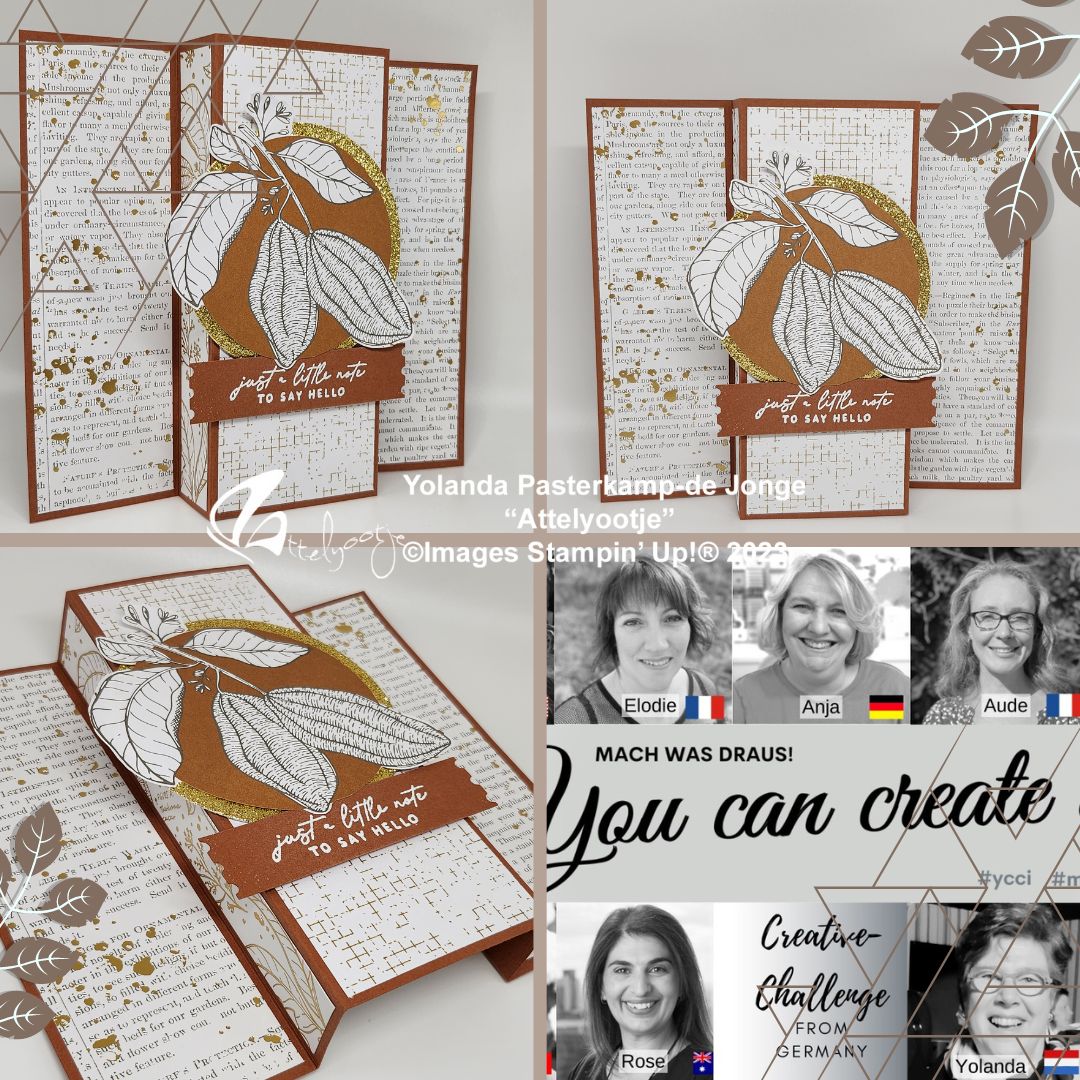
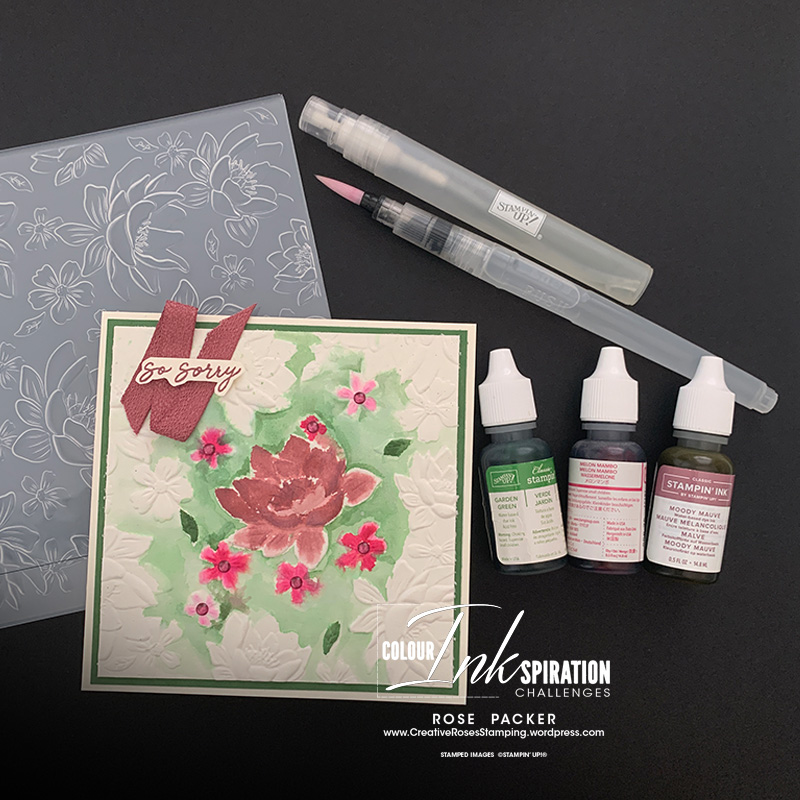
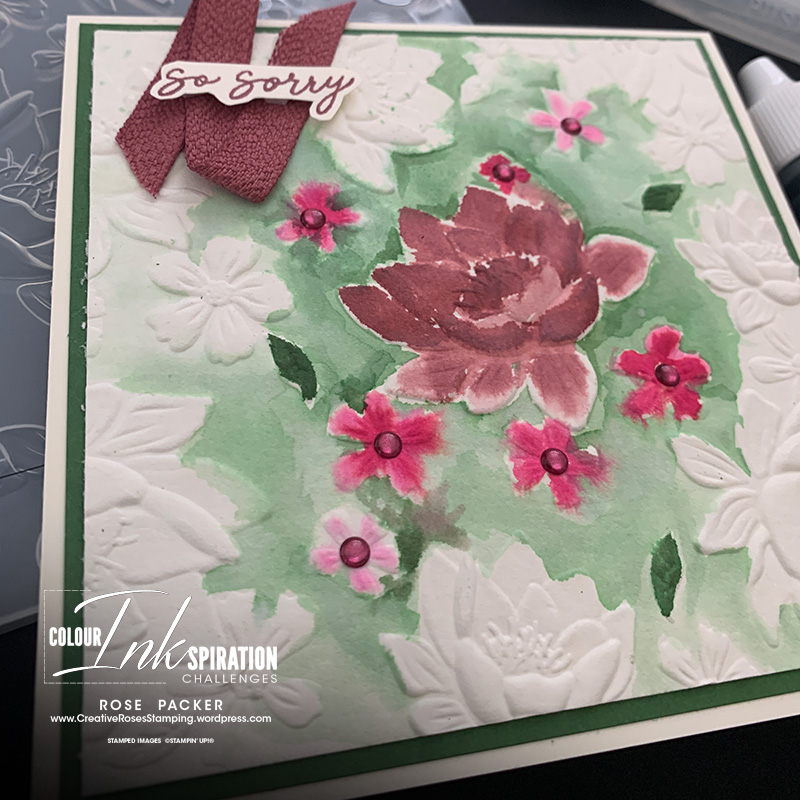
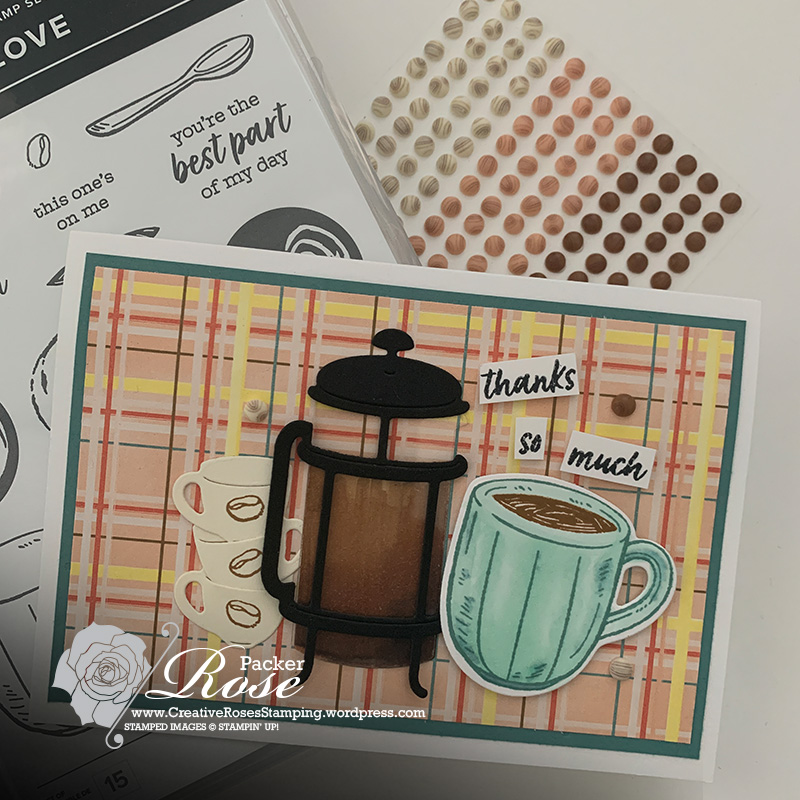
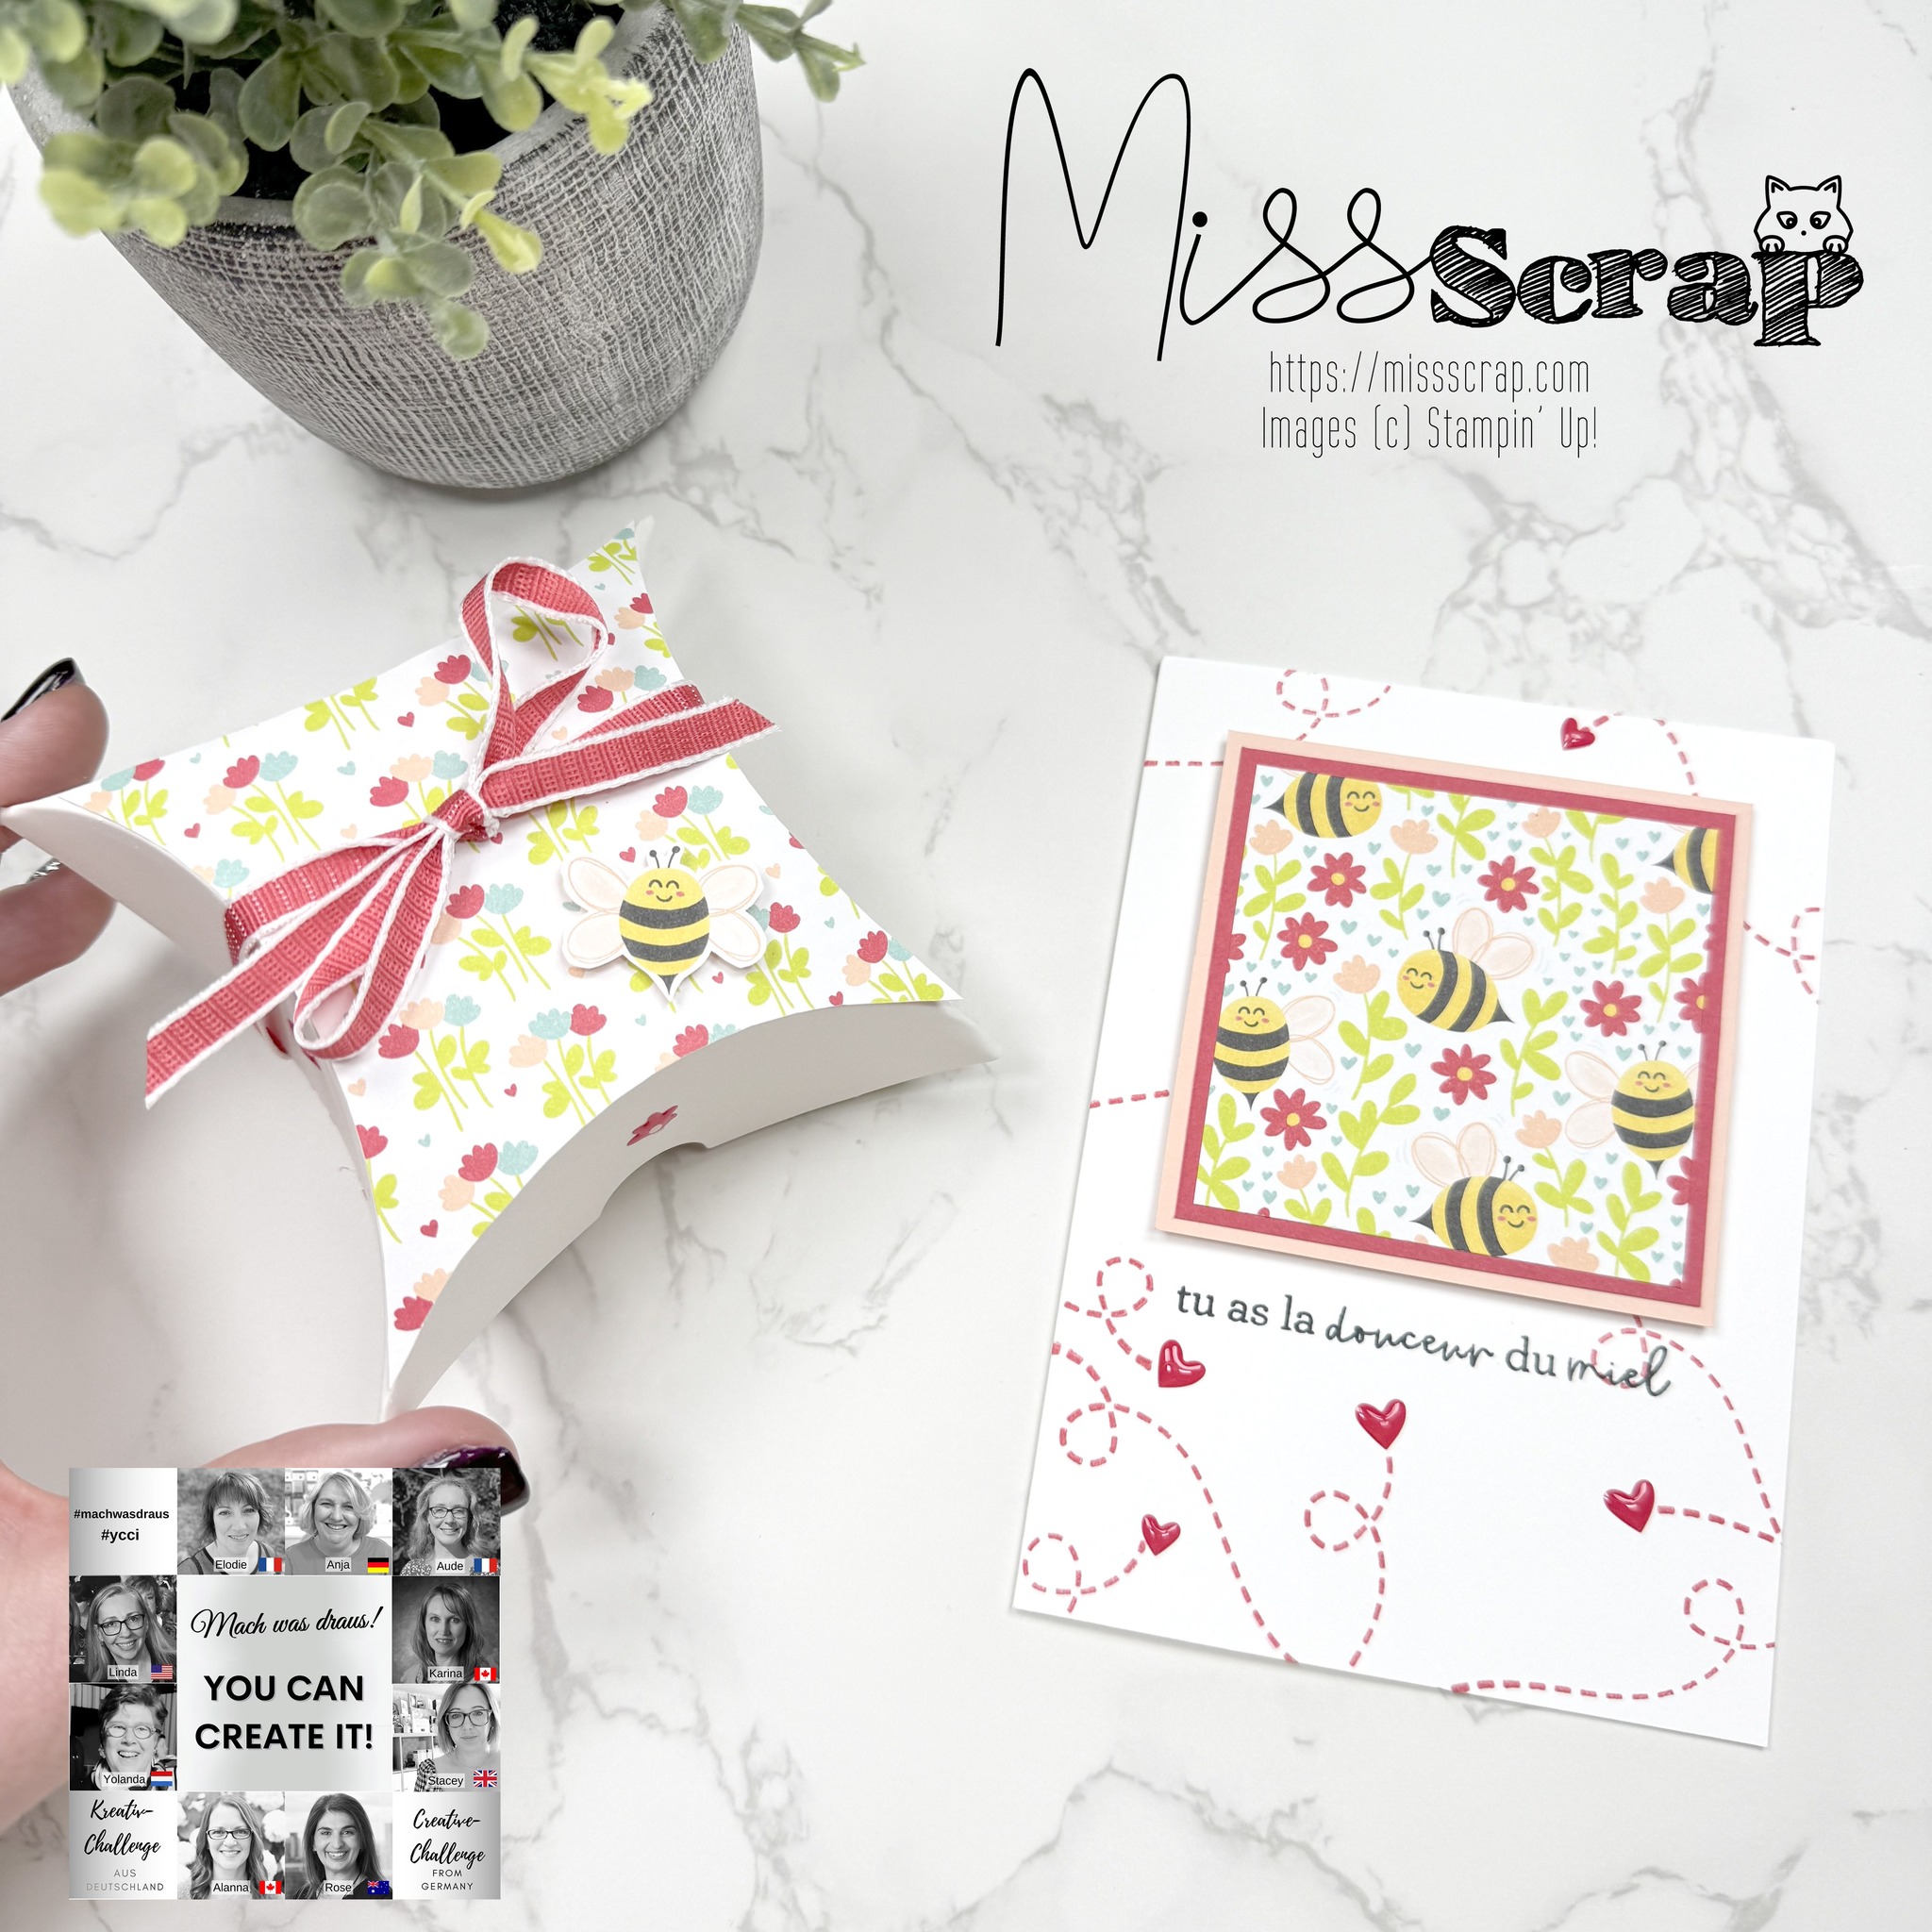
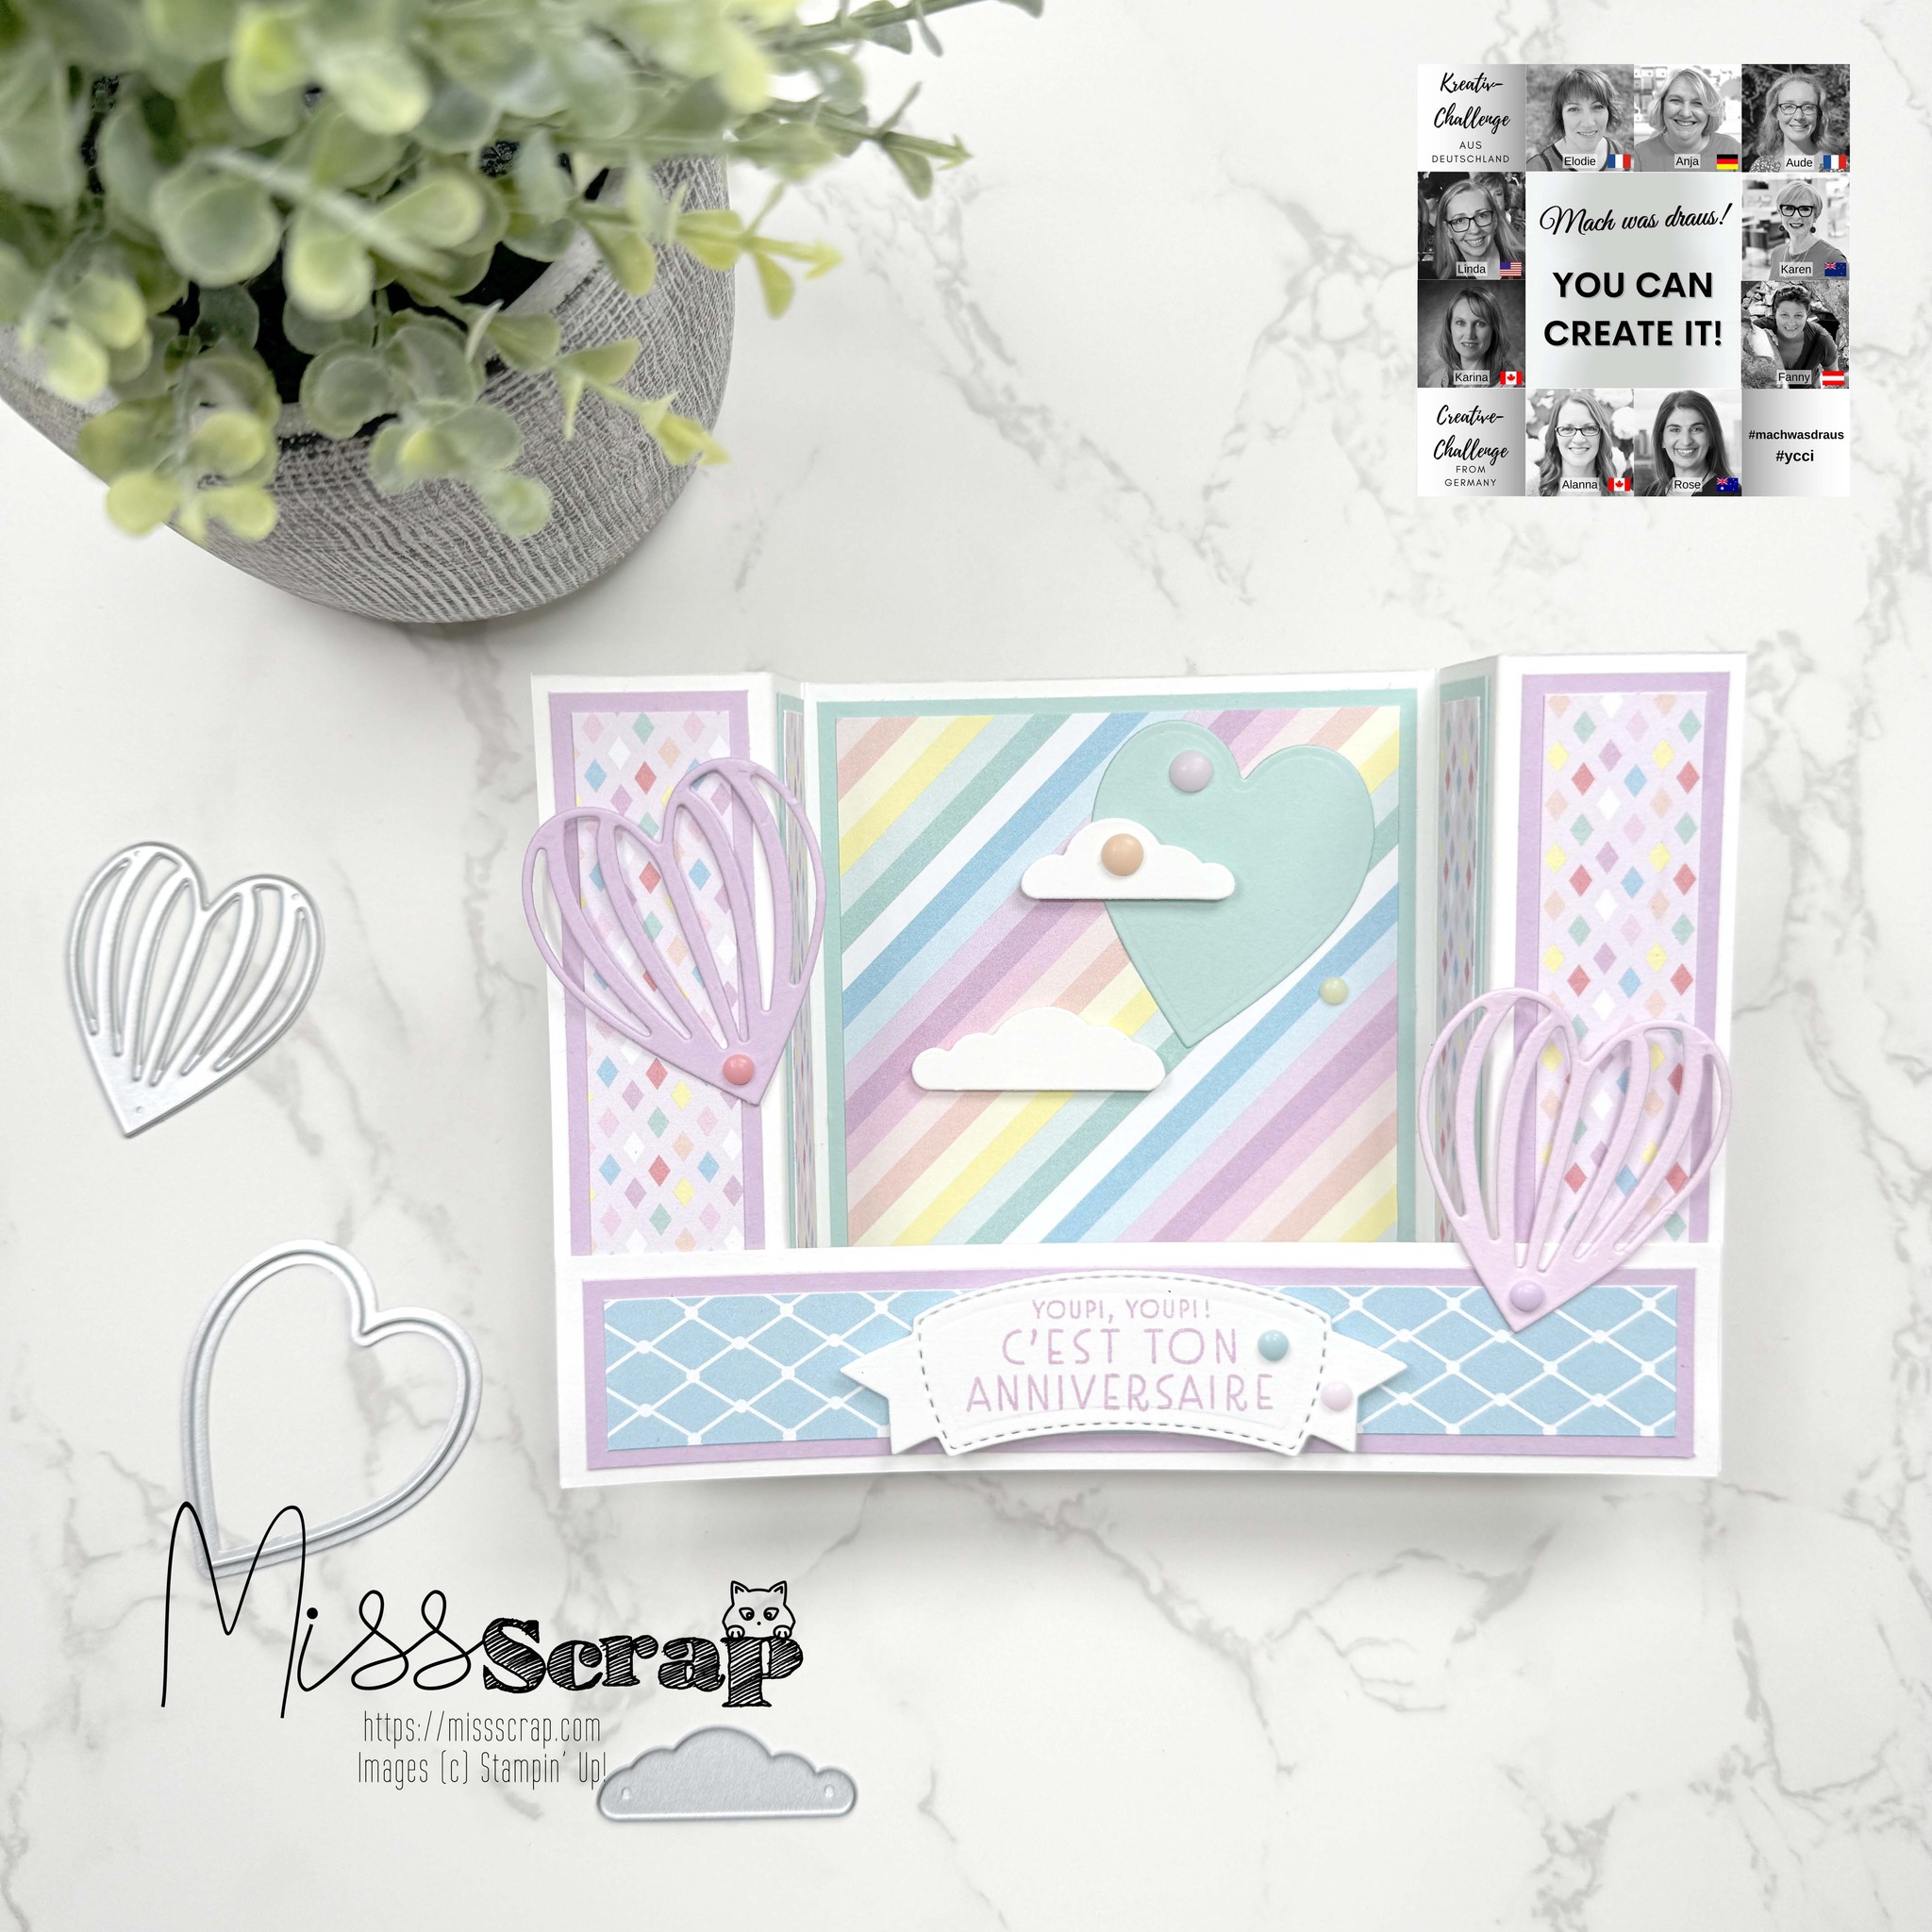
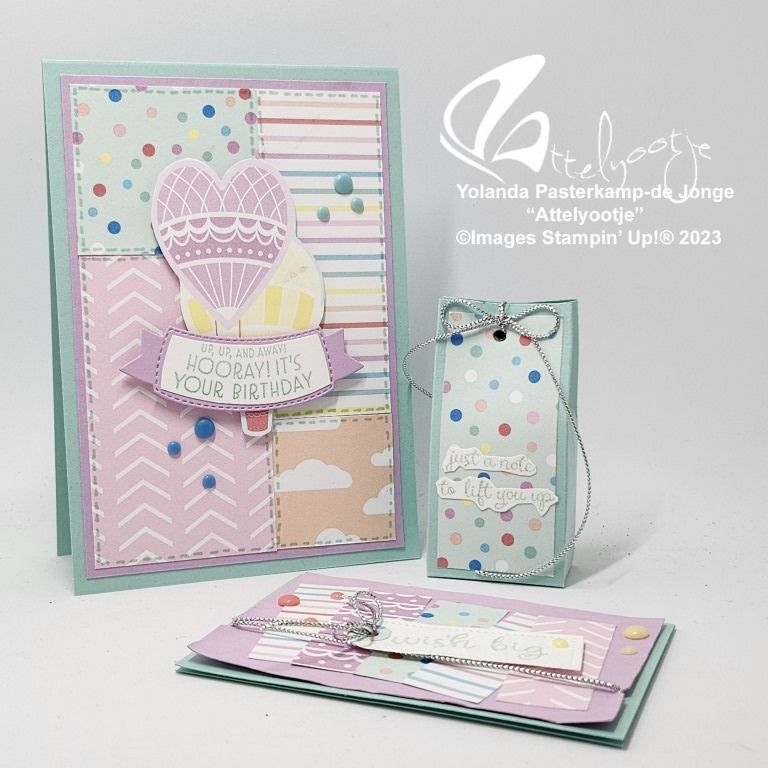
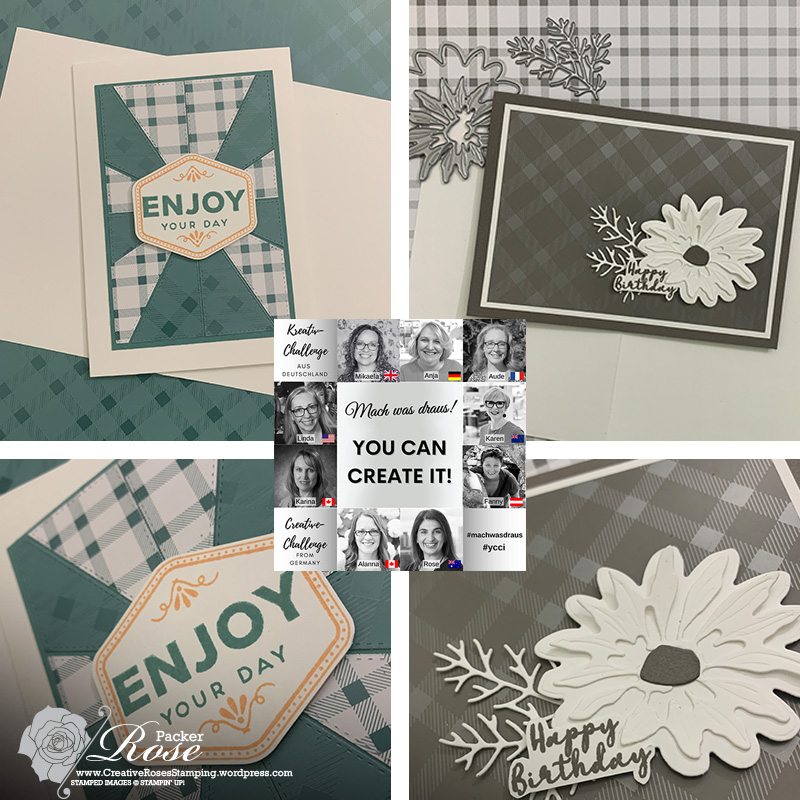
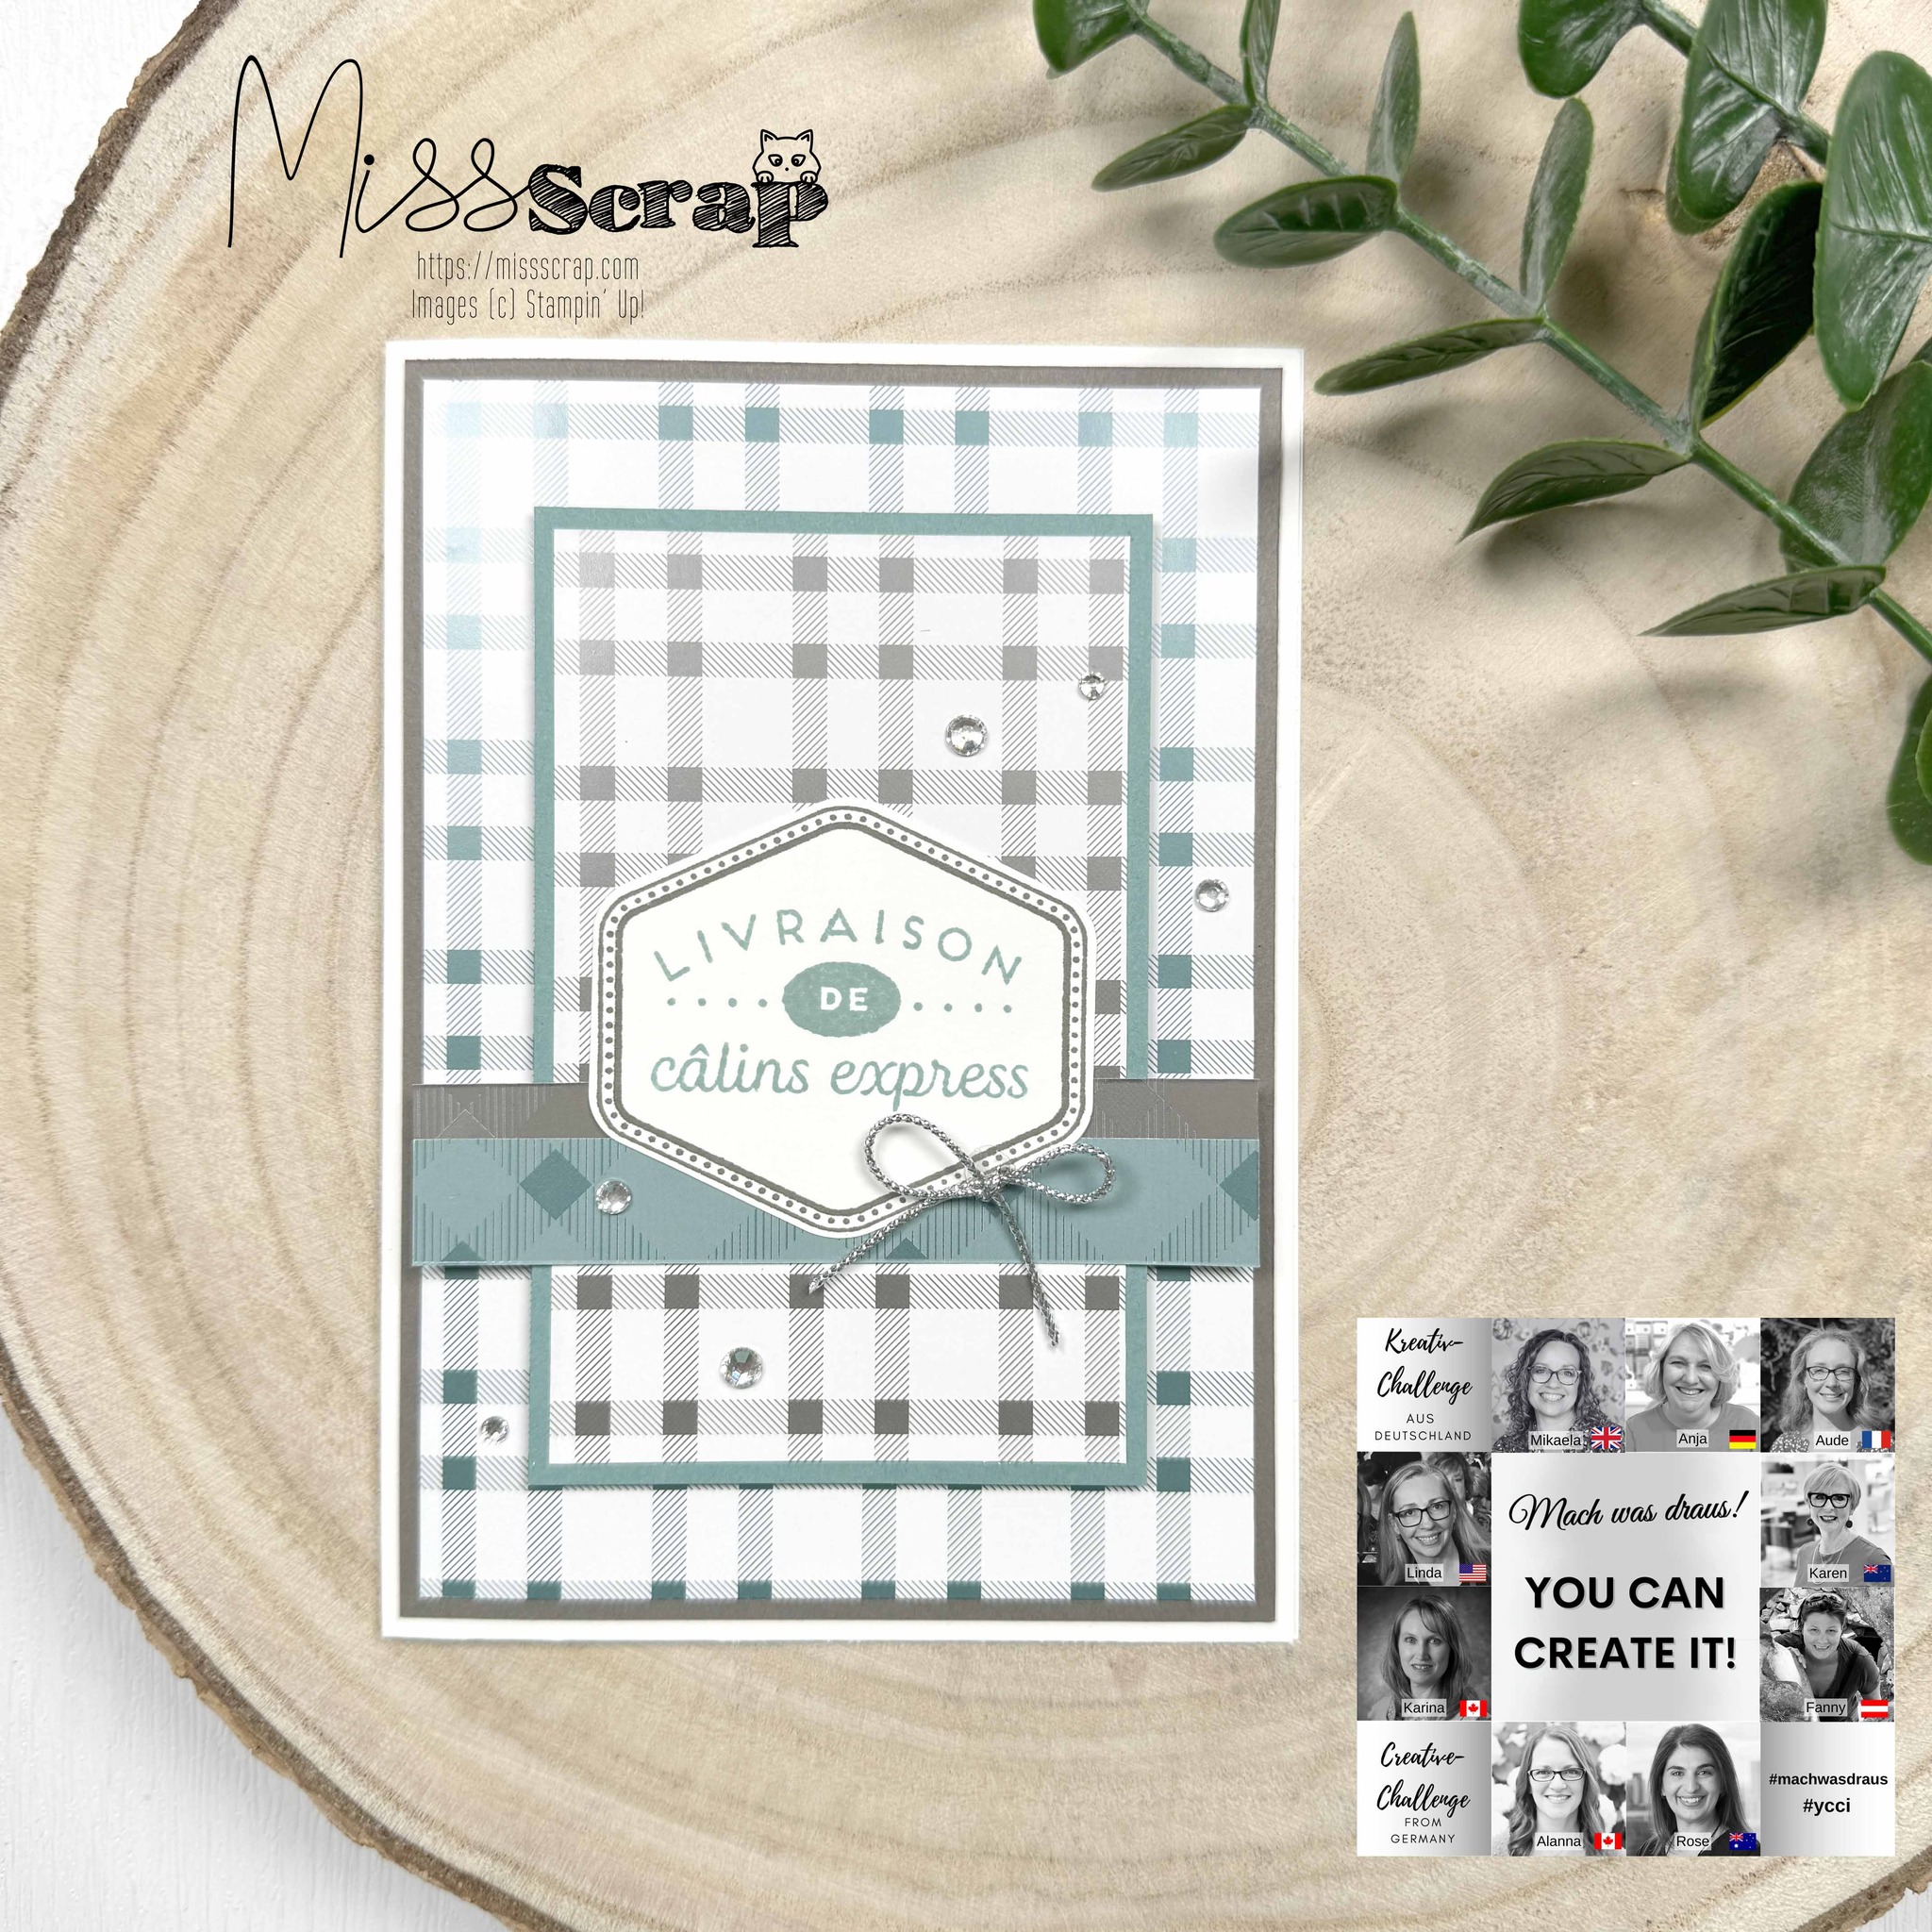
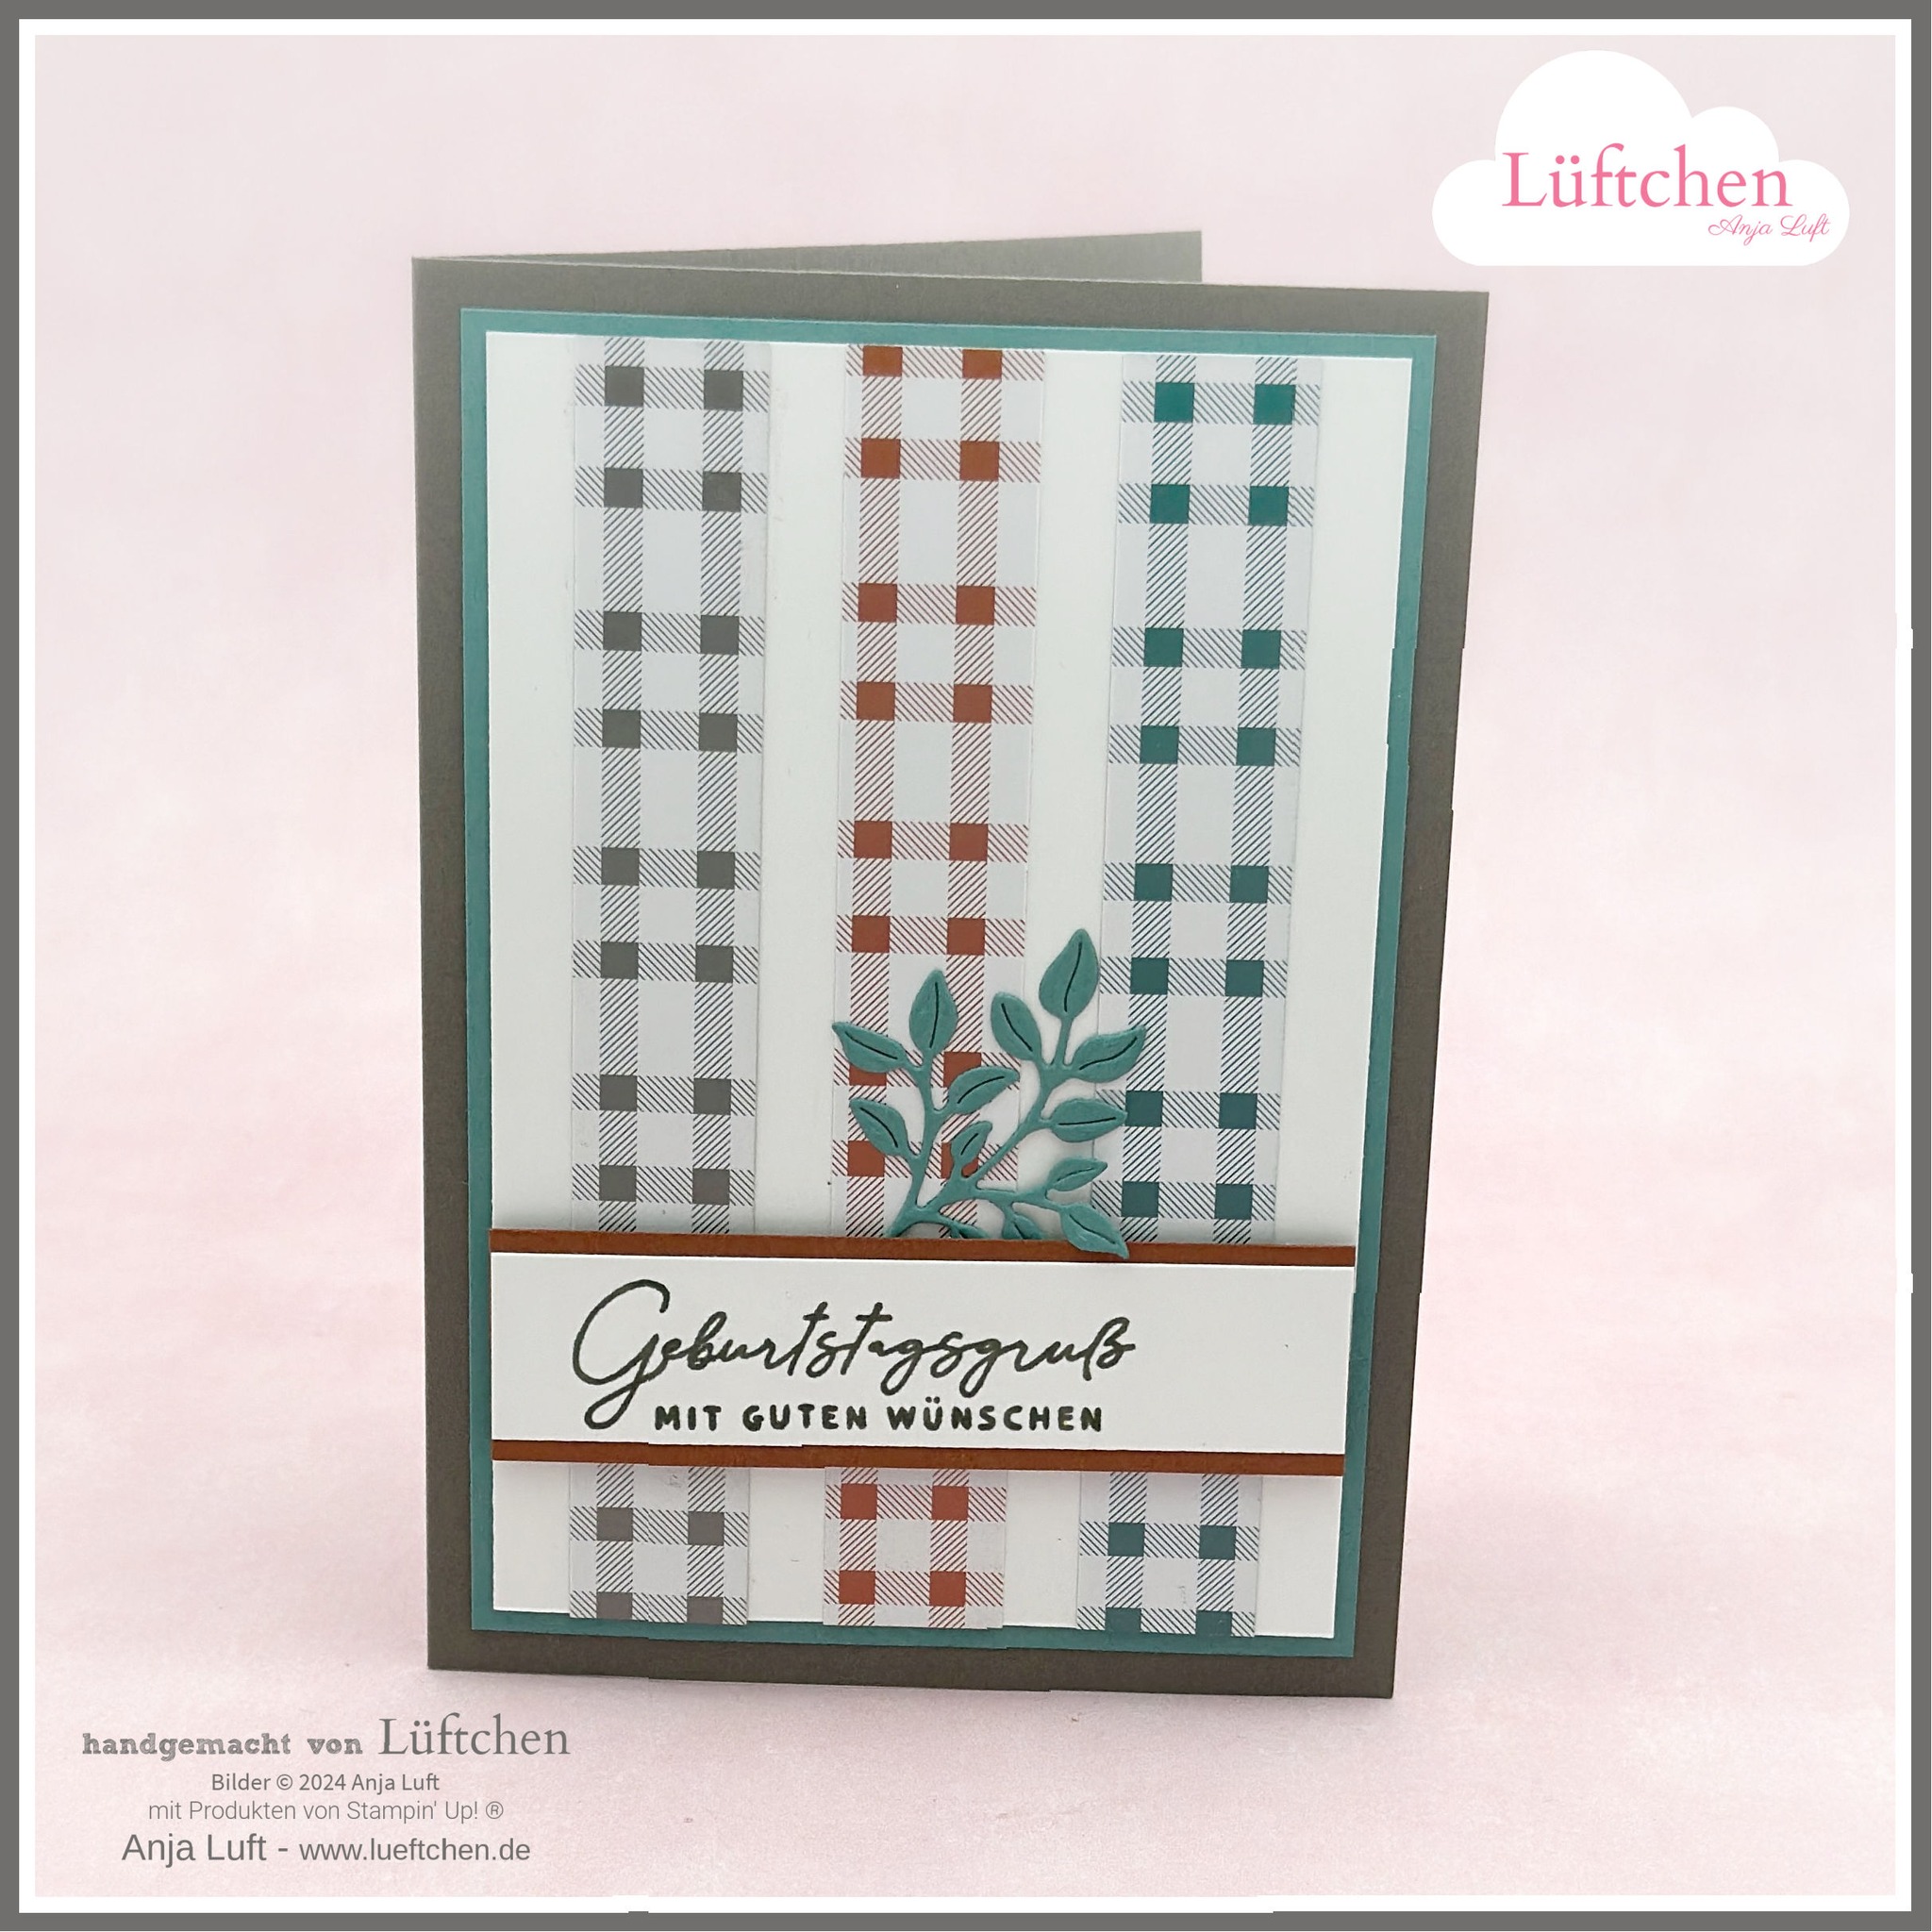
Here are the ideas from our Global Demonstrators for this months kit:
Until next time… Stamp Creatively,

Click to shop supplies used in this project:
 $11.50 | |||
 $60.00 |
")
")
 Specialty Designer Series Paper")


Stampin’ Staples – Click to shop these commonly used crafting supplies:
 $18.50 |  $15.00 |  $9.75 |  $10.25 |  $7.50 |
 $12.25 |  $14.00 |  $10.50 |  $46.00 | |
 $19.25 |  $8.75 |  $12.25 |  $19.25 | |
 $223.00 |  $12.25 |  $16.75 |  $23.00 | |
 $16.75 |


 Textured Ribbon")

")


")
 Designer Series Paper")


")
")

 Designer Series Paper")


 Designer Series Paper")


")


")


 Specialty Designer Series Paper")


")
")